Table of contents
Open Table of contents
- Writing a Dockerfile
- Building the Application from a Dockerfile
- Starting the Application
- Persisting Container Data on the Host with a Named Volume
- Mounting Host-Managed Data and Configuration into Containers with Bind Mounts
- How Can Named Volumes and Bind Mounts Be Distinguished?
- Combining Containers into a Complete Application with Compose
- Quickly Looking Up Docker Commands
- Visual Operations with Docker Desktop
- Example Code
- Other Suggestions
Article body
Docker’s documentation is excellent: its examples are complete and the reasoning flows naturally. Following the sequence gives you a broad understanding of Docker.
This article records notes from Docker’s Get started documentation.
Writing a Dockerfile
# FROM is followed by the image name.
From node:12-alpine
# RUN is an image-build step; here it installs these packages after the base image is pulled.
RUN apk add --no-cache python2 g++ make
# Working directory for subsequent commands
WORKDIR /app
# Copy app from the host's current directory to /app in the container.
COPY ./app .
# Use yarn in the current image.
RUN yarn install --production
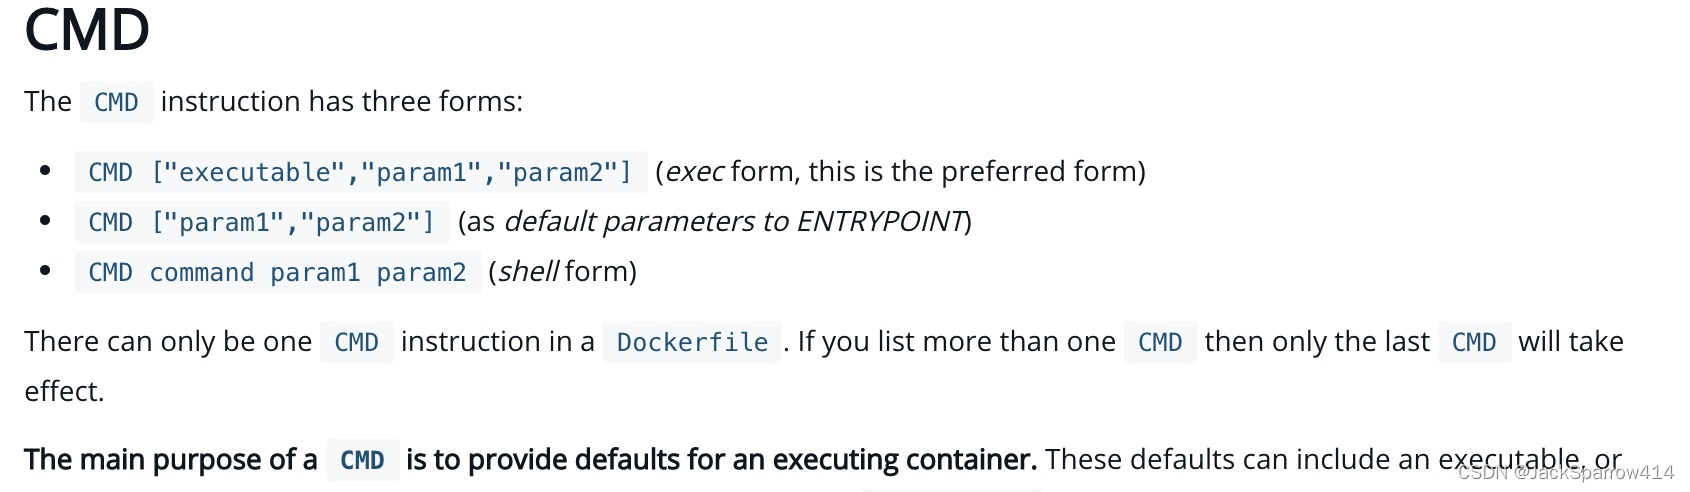
# CMD defines the default command run when a container starts after the image is built. Only one CMD takes effect; if there are several, the last wins.
CMD ["node", "src/index.js"]
# Expose the port without mapping it to the host; use -p for that mapping.
EXPOSE 3000
Common Dockerfile Questions
How Do RUN and CMD Differ?
The deeper reason for this question may be an unclear understanding of images and containers.
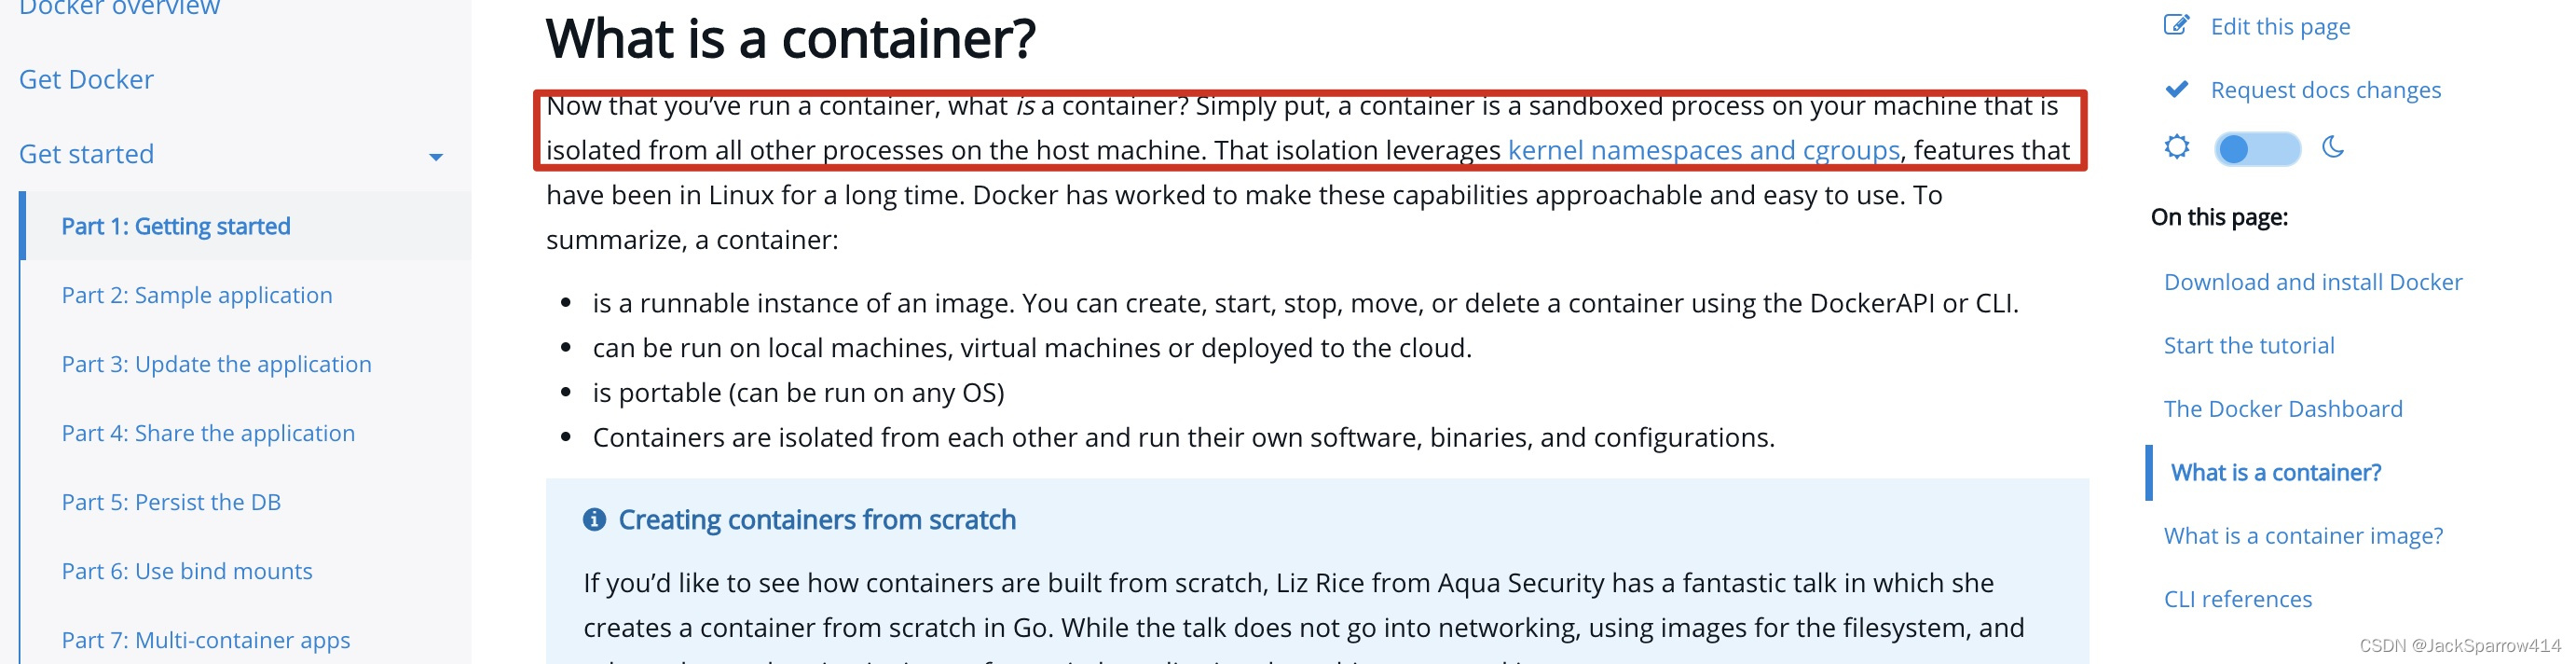
- A container is roughly the application we ultimately run. On the machine, that application is a process.
- An image provides the prerequisites that let the application run—its required environment.
Once these two concepts are clear, the distinction makes sense.
-
RUN configures an image: use it to define the steps needed to build the application’s runtime environment.
-
CMD applies to the container process: it is the default command executed at startup.
Building the Application from a Dockerfile
docker build -t getting-started .The final dot represents the build context. Search for it in the docker build documentation, or search Google for the term if it remains unclear.
The build process appears in the terminal in real time:
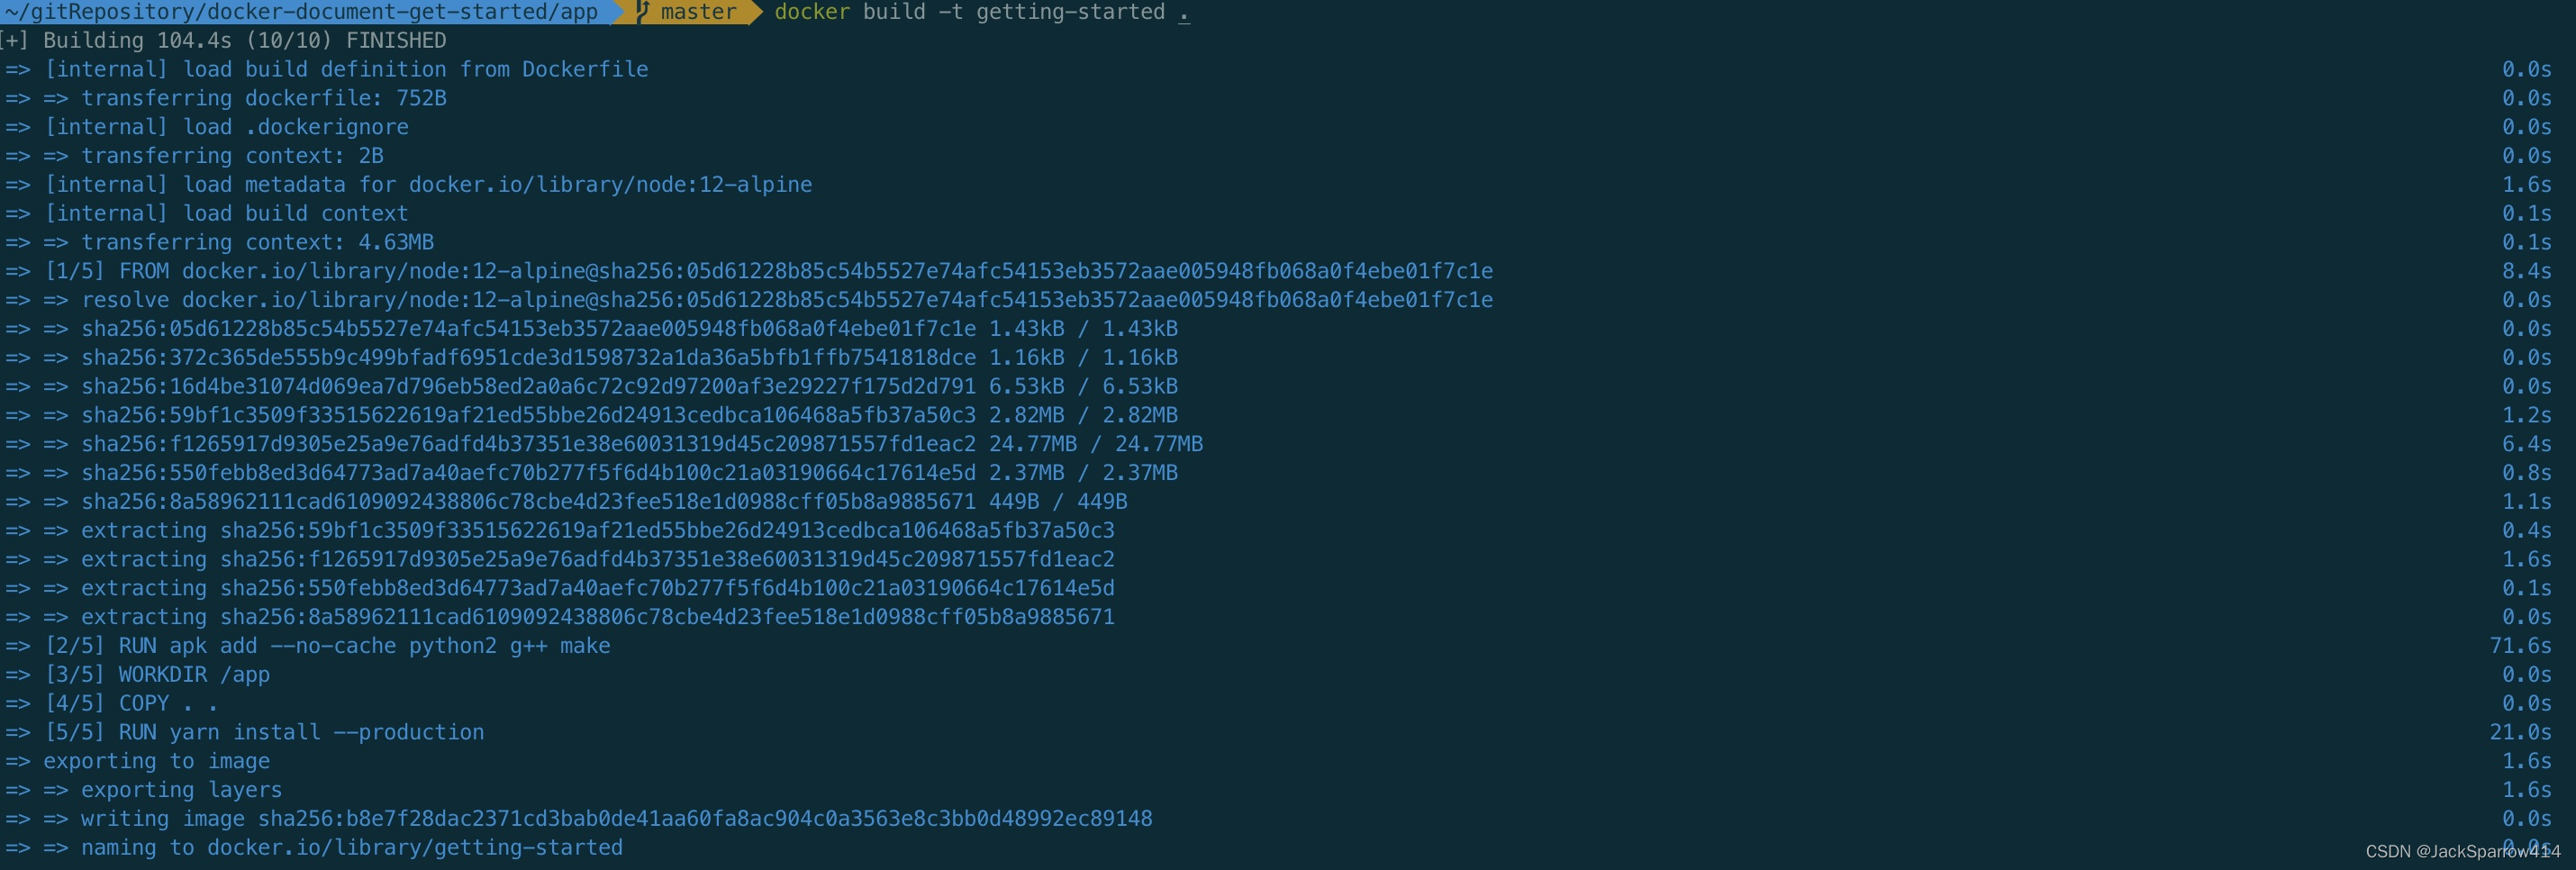
You can see all the steps defined above.
Starting the Application
docker run -dp 3000:3000 getting-startedPersisting Container Data on the Host with a Named Volume
Docker containers are isolated (isolation). Even two containers from the same image cannot share their individual data directly. Changes to container files also disappear when the container is deleted, so they do not persist on their own.
With the previous experiment, we saw that each container starts from the image definition each time it starts. While containers can create, update, and delete files, those changes are lost when the container is removed and all changes are isolated to that container. With volumes, we can change all of this.
Volumes provide the ability to connect specific filesystem paths of the container back to the host machine. If a directory in the container is mounted, changes in that directory are also seen on the host machine. If we mount that same directory across container restarts, we’d see the same files
According to the documentation, volumes store changes from the container on the host, addressing this problem.
Creating a Volume
docker volume create todo-dbUsing -v When Starting the Container
docker run -dp 3000:3000 -v todo-db:/etc/todos getting-startedThe path above, /etc/todos, is inside the container. The volume tracks files there and stores changes on the host disk, addressing persistence.
Start the todo app container, but add the
-vflag to specify a volume mount. We will use the named volume and mount it to/etc/todos, which will capture all files created at the path
Where Is the Volume Data Stored on the Host?
docker volume inspect todo-dbMounting Host-Managed Data and Configuration into Containers with Bind Mounts
One scenario is local development: source changes can update the running container without rebuilding it.
- A named volume persists container data on the host, or exposes a Docker-managed host volume to the container. The key point is that Docker manages the data. Users do not need to handle it directly—roughly, they read and write through containers rather than manually editing it on the host.
- A bind mount exposes host data to a container, where it is often read-only. Users generally edit that data manually. A typical example is configuration files read at container startup, usually located on the host under the current Dockerfile directory, and mounted into the container.
In the previous chapter, we talked about and used a named volume to persist the data in our database. Named volumes are great if we simply want to store data, as we don’t have to worry about where the data is stored.
With bind mounts, we control the exact mountpoint on the host. We can use this to persist data, but it’s often used to provide additional data into containers. When working on an application, we can use a bind mount to mount our source code into the container to let it see code changes, respond, and let us see the changes right away.
Documentation and comparison of the two approaches.
How Can Named Volumes and Bind Mounts Be Distinguished?
Both are defined under volumes. How do you tell them apart?
- A source that looks like a name is a named volume, persisting container data on the host. For example:
todo-db:/etc/todos
- A source that clearly looks like a path is a bind mount, exposing host changes to the container. For example:
/usr/local:/usr/local
Docker also provides —mount, whose type distinguishes volume from bind mounts. The documentation recommends —mount rather than -v.
For detailed data-management guidance and use cases for bind mounts and volumes, see Manage data in Docker.
Combining Containers into a Complete Application with Compose
In general, each container should do one thing and do it well
A complete business application may include a frontend, backend, database, Redis, and a message queue.
In Docker, each belongs in a different container, communicating over a shared network.
Even so, deployment remains somewhat complicated: each container must be deployed and verified separately, then the network configured. Is there a way to deploy them together? This is where Docker Compose comes in.
The big advantage of using Compose is you can define your application stack in a file, keep it at the root of your project repo (it’s now version controlled), and easily enable someone else to contribute to your project. Someone would only need to clone your repo and start the compose app. In fact, you might see quite a few projects on GitHub/GitLab doing exactly this now.
Combining Applications with docker-compose.yml
# Compose schema version, similar to an XML version
version: "3.7"

services:
  app:
    image: node:12-alpine
    # Start a shell with sh (Alpine has no bash), run yarn install to install dependencies, then yarn run dev. In package.json, the dev script starts nodemon.
    command: sh -c "yarn install && yarn run dev"
    # Port mapping
    ports:
      - 3000:3000
    # Working directory inside the container
    working_dir: /app
    # A bind mount exposes host contents to the container here.
    volumes:
      - ./app:/app
    environment:
      MYSQL_HOST: mysql
      MYSQL_USER: root
      MYSQL_PASSWORD: secret
      MYSQL_DB: todos
  mysql:
    image: mysql:5.7
    # A named volume persists container data on the host here.
    volumes:
      - todo-mysql-data:/var/lib/mysql
    environment:
      MYSQL_ROOT_PASSWORD: secret
      MYSQL_DATABASE: todos
# Declare the named volume here; Compose does not create it automatically from the service's volume entry alone.
volumes:
  todo-mysql-data:
Startup
docker-compose up -d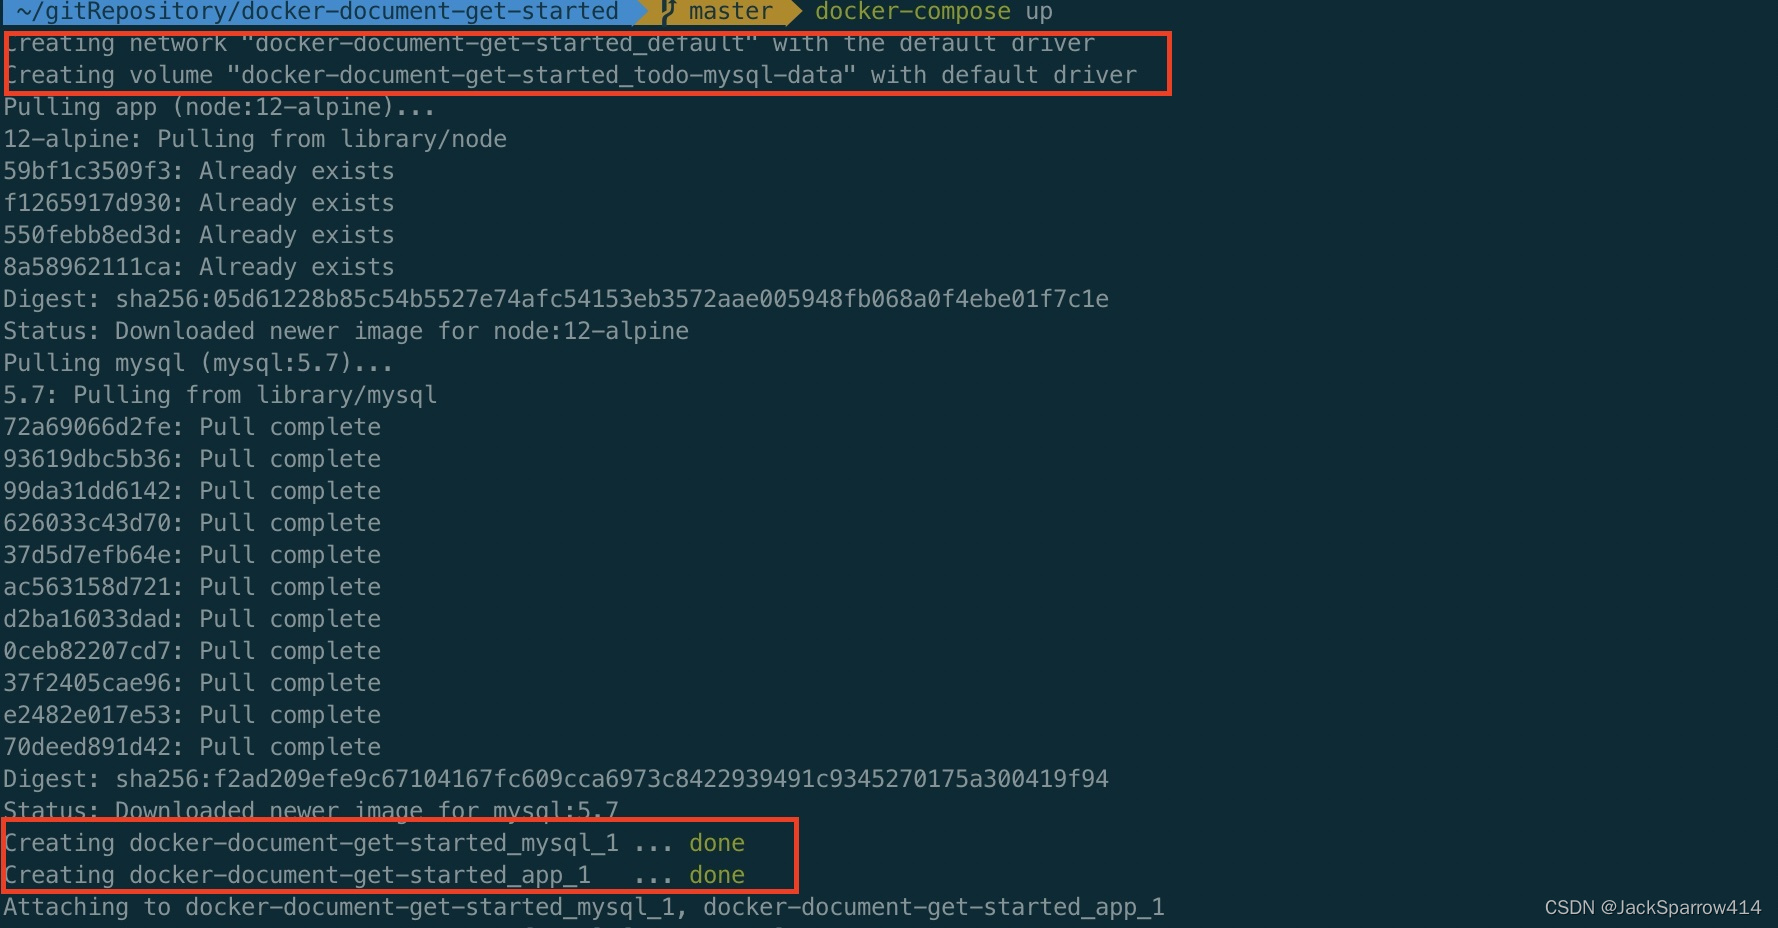

The configuration creates two containers through Docker Compose.
- mysql_1
- app_1
It creates the configured volume and automatically creates a shared network.
Quickly Looking Up Docker Commands
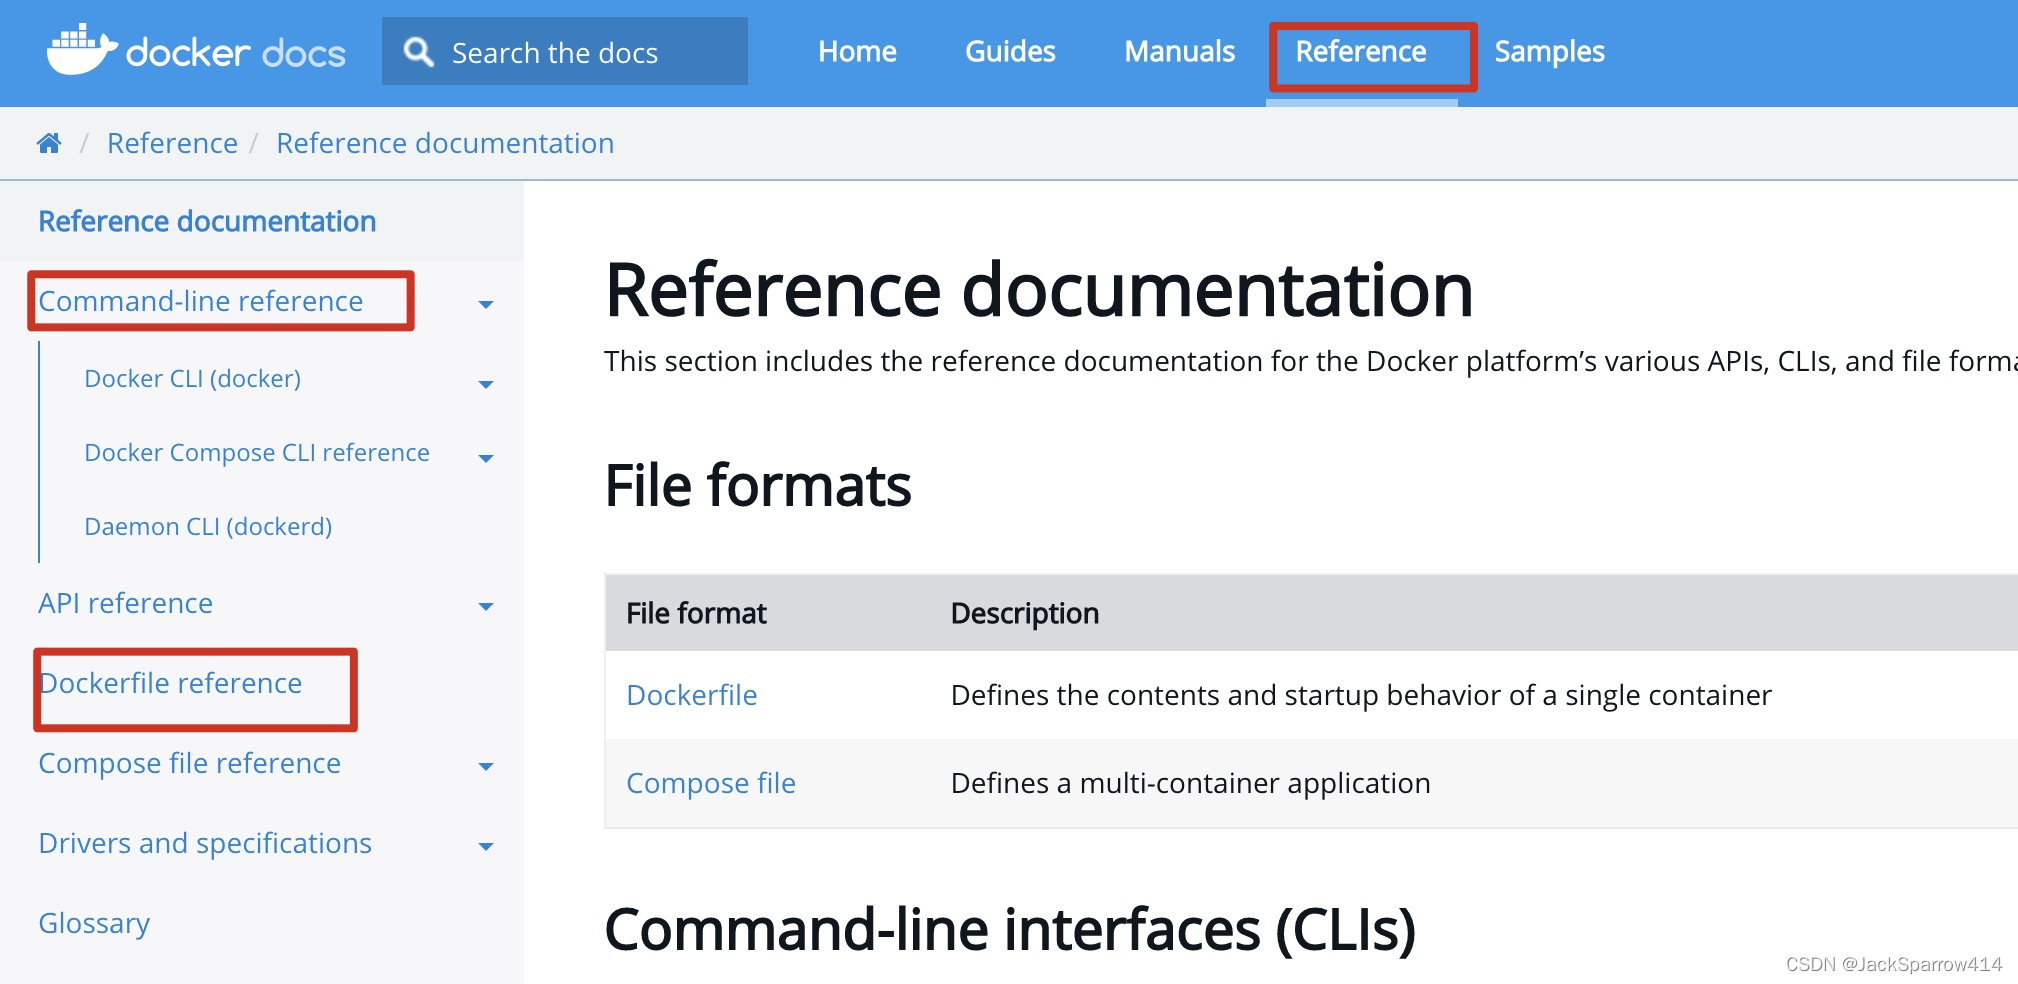
Visual Operations with Docker Desktop
Docker Desktop makes it convenient to inspect Docker information locally.
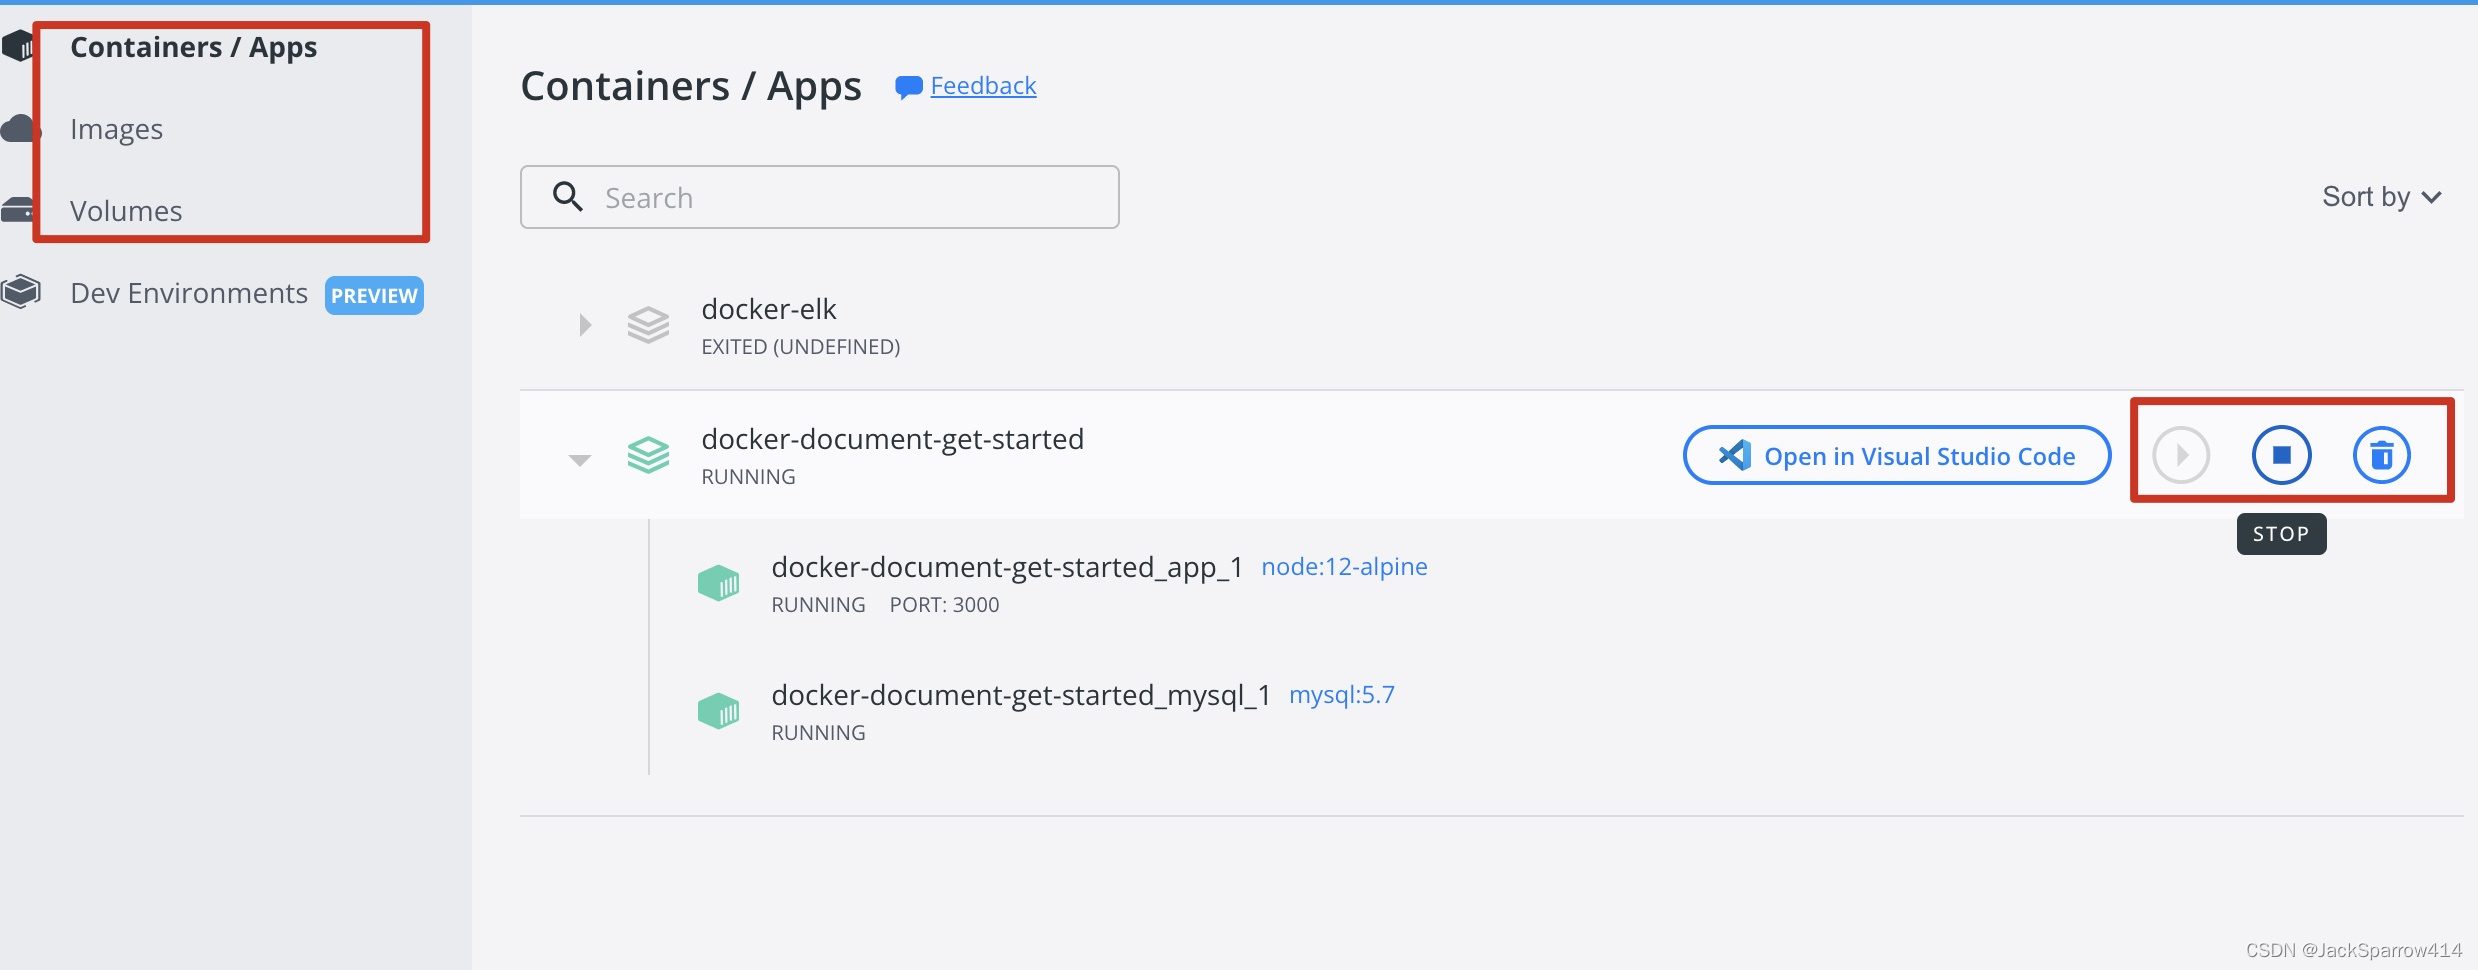 It also lets you enter a container directly without typing the command yourself.
- Click a container, here get-started_app_1.
- Click CLI at the top right. A terminal opens with the command to enter the container already filled in—very convenient.

Example Code
Other Suggestions
As Docker becomes more widespread, we can change how we learn other software. Instead of installing it locally and configuring environment variables, pull a Docker image and start learning quickly. Delete the image afterward. Focus your energy on learning the software itself, without exhausting your enthusiasm on installation.