Table of contents
Open Table of contents
Article body
The previous two articles roughly analyzed how Spring registers, creates, and instantiates beans.
Once these steps are clear, IoC becomes much easier to understand.
IoC (Inversion of Control) is also referred to as DI (Dependency Injection). Personally, I find dependency injection easier to understand. As the previous two articles showed, Spring instantiates a bean, and during that process, another bean it depends on is created or assigned to it. That makes dependency injection a more intuitive description for me.
The official documentation explains it as follows:

Spring’s work therefore falls broadly into two parts:
- Create bean objects: Official documentation on creating bean objects
An object can be created in three ways: using a constructor, a static factory, or an instance factory.
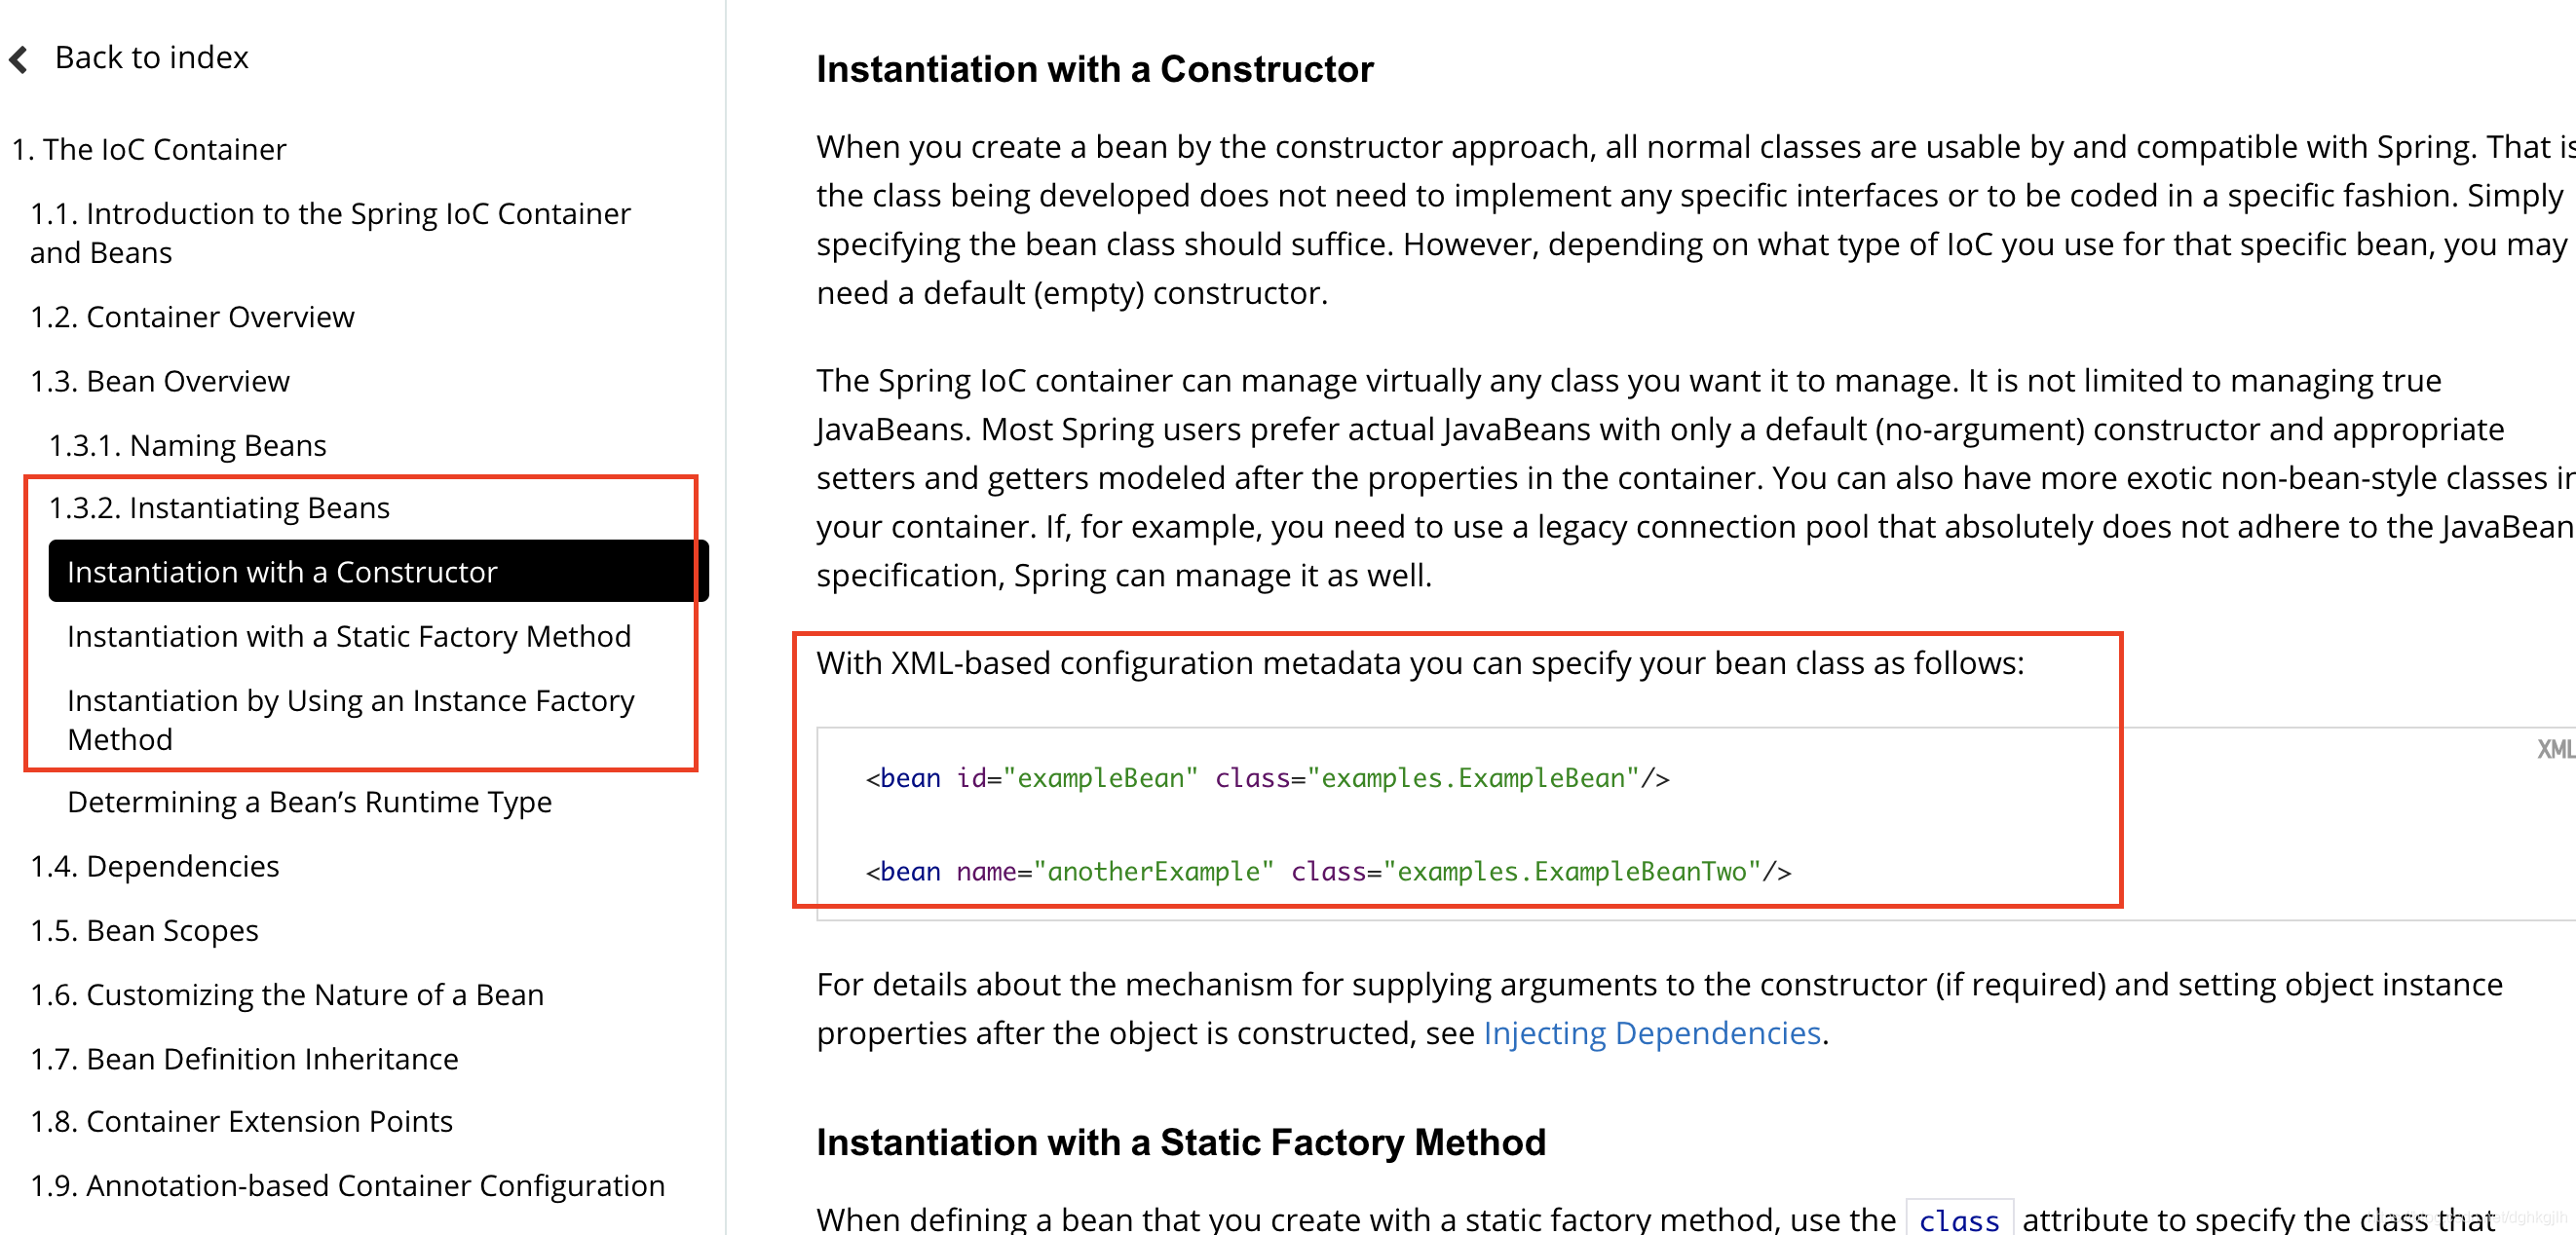
- Instantiate objects: The dependency injection section of the official documentation
How are an object’s properties set when it is instantiated? Either through setter methods or through the constructor.
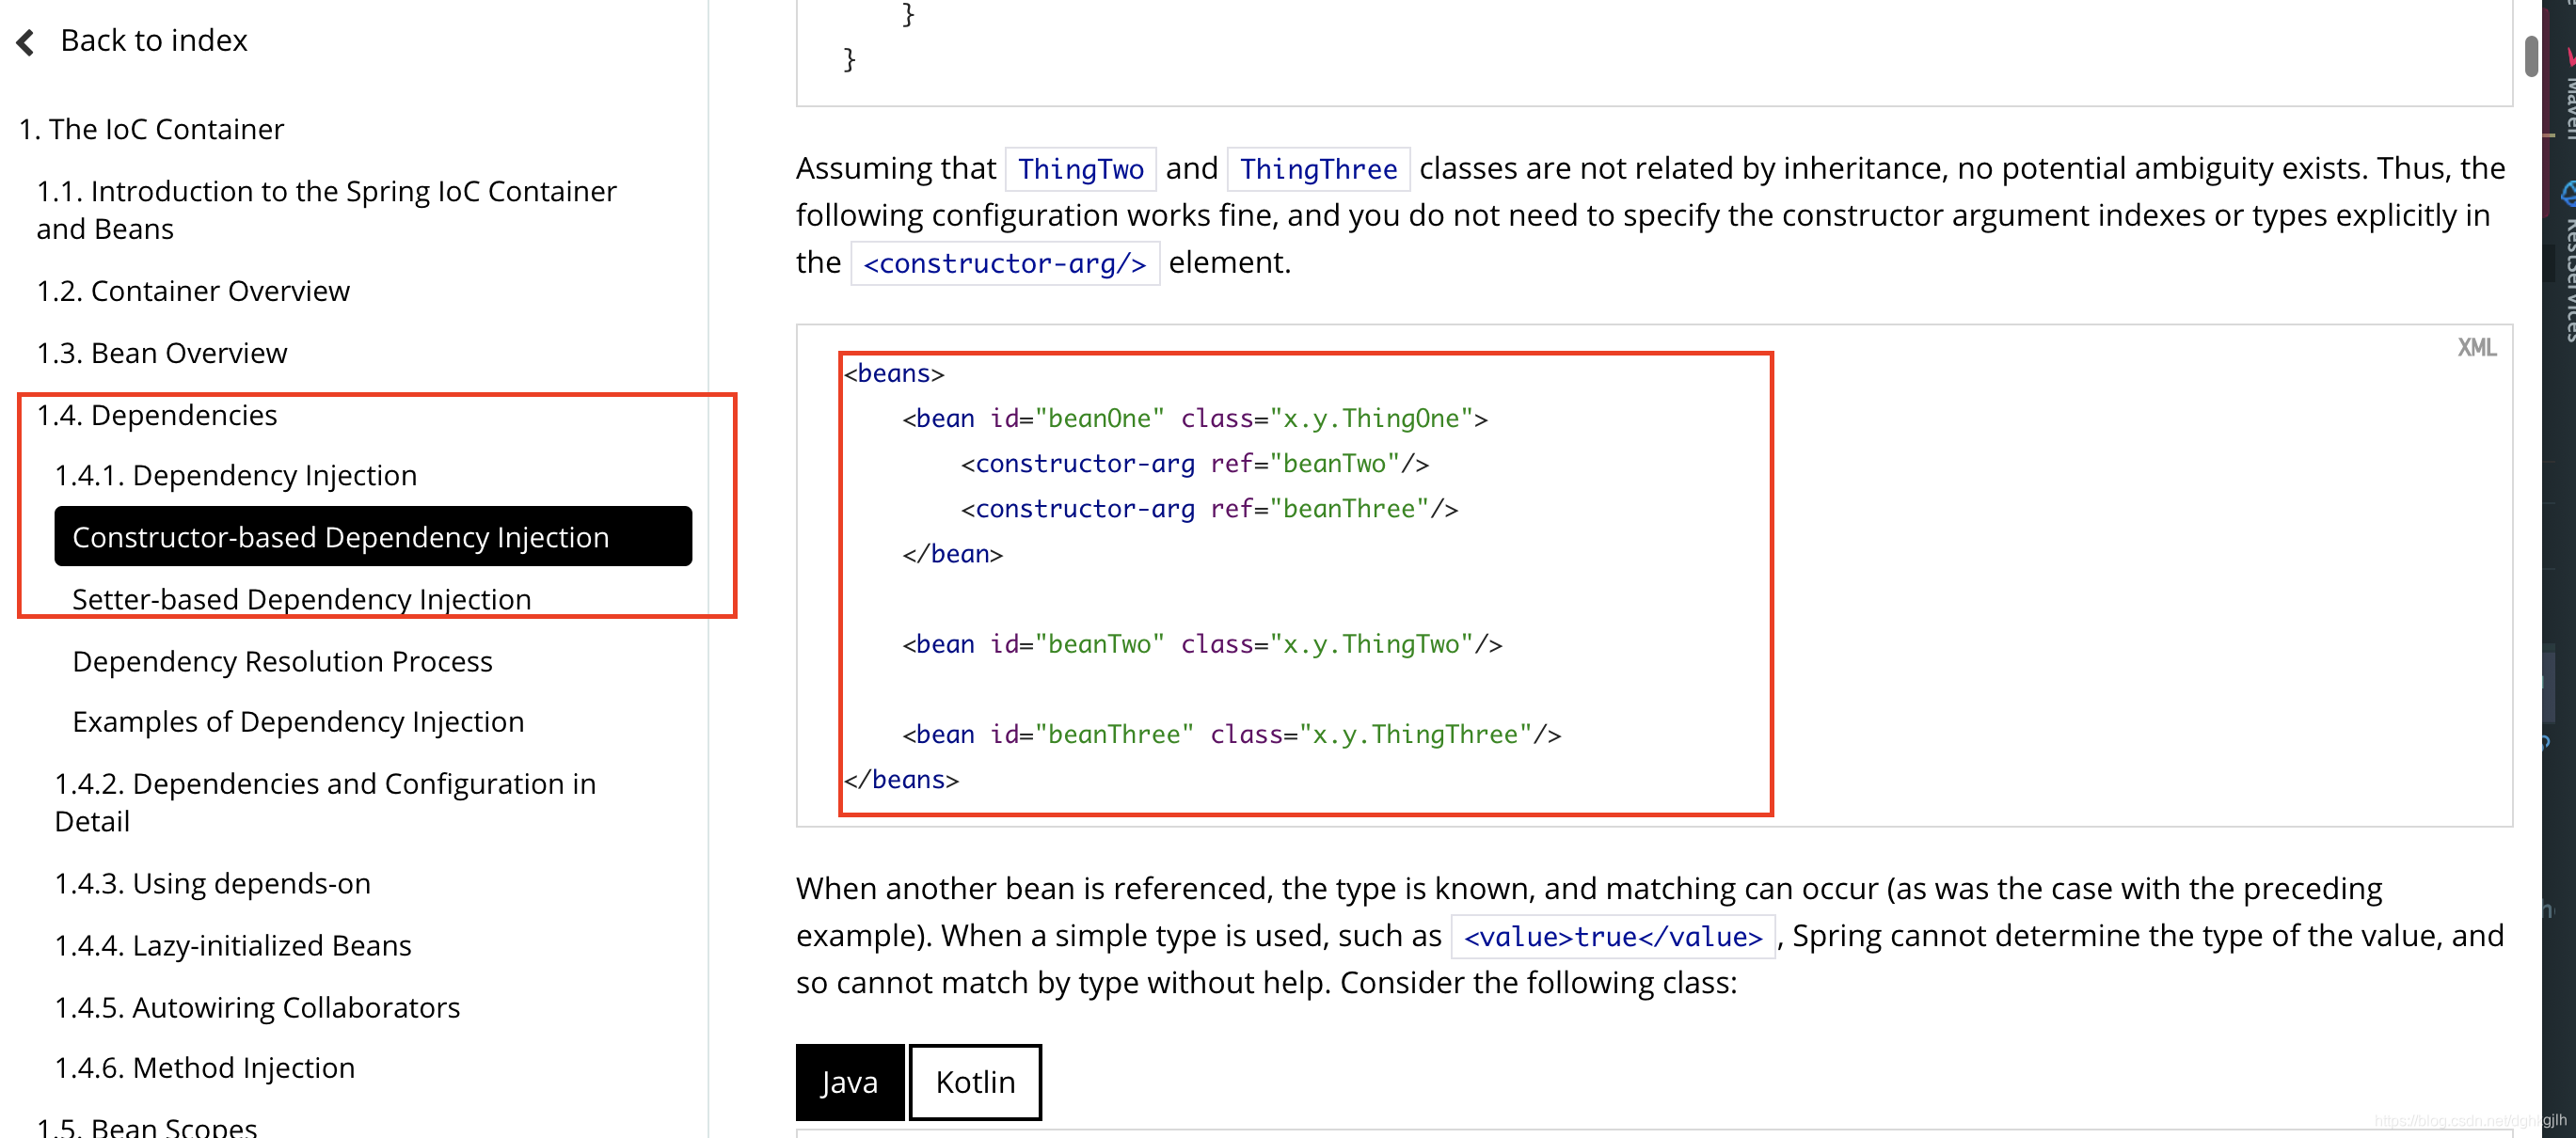
Once this is understood, Spring’s basic operation is clear. The remaining details concern how Spring manages and uses different beans.
Something to think about:
We rarely use XML configuration in everyday work now. If an application has many beans, writing XML for all of them is certainly painful. How does Spring register the beans we need when the container starts?
<?xml version="1.0" encoding="UTF-8" ?>
<beans xmlns="http://www.springframework.org/schema/beans"
       xmlns:xsi="http://www.w3.org/2001/XMLSchema-instance"
       xmlns:context="http://www.springframework.org/schema/context"
       xsi:schemaLocation="http://www.springframework.org/schema/beans
        https://www.springframework.org/schema/beans/spring-beans.xsd http://www.springframework.org/schema/context https://www.springframework.org/schema/context/spring-context.xsd">
    <!--Enable component scanning so explicit bean elements are no longer needed.-->
    <context:component-scan base-package="com.learn.spring.spring01.service"/>
    <!--<bean id="schoolService" class="com.learn.spring.spring01.service.SchoolServiceImpl">-->

    <!--</bean>-->
</beans>@Component
public class SchoolServiceImpl {
public String getTimeStr(){
return LocalDateTime.now().format(DateTimeFormatter.ofPattern("yyyy-MM-dd hh:MM:ss"));
}
public String getInStr(String str){
return str;
}
}After enabling annotation scanning and adding annotations such as Component or Service to beans, there is no need to write explicit bean elements.
How exactly does Spring do this?
When parsing XML and registering beans, parseBeanDefinitions checks whether the current element is a bean element. If it is a context element instead, it calls parseCustomElement -> handler.parse -> the parse method below:
public BeanDefinition parse(Element element, ParserContext parserContext) {
        String basePackage = element.getAttribute("base-package");
        basePackage = parserContext.getReaderContext().getEnvironment().resolvePlaceholders(basePackage);
        String[] basePackages = StringUtils.tokenizeToStringArray(basePackage, ",; \t\n");
        ClassPathBeanDefinitionScanner scanner = this.configureScanner(parserContext, element);
// The two key lines
        Set<BeanDefinitionHolder> beanDefinitions = scanner.doScan(basePackages);
        this.registerComponents(parserContext.getReaderContext(), beanDefinitions, element);
        return null;
    }
doScan scans the classes under the package configured in XML. If a class has an annotation, it enters the final check and registers its beanDefinition. The methods called and the process are exactly the same as those described in the first article.
if (this.checkCandidate(beanName, candidate)) {
                    BeanDefinitionHolder definitionHolder = new BeanDefinitionHolder(candidate, beanName);
                    definitionHolder = AnnotationConfigUtils.applyScopedProxyMode(scopeMetadata, definitionHolder, this.registry);
                    beanDefinitions.add(definitionHolder);
// Register the bean.
                    this.registerBeanDefinition(definitionHolder, this.registry);
                }
registerComponents below performs some additional work; the main work still happens in doScan.
A further question: how does Spring Boot perform scanning?
The @Component annotation is already included by default in @SpringbootApplication. You can debug Spring Boot yourself to see the implementation; the underlying principles are related.
What I hear, I forget. What I see, I remember. What I do, I understand.
If a concept feels unfamiliar or unclear, try debugging it yourself alongside the official documentation. You can usually understand it quite quickly. Rote memorization is still not a reliable substitute.