Table of contents
Open Table of contents
Article body
Before we begin: I highly recommend the three sections of Solr’s official introductory tutorial. They cover the essentials, from basic queries and phrase queries to importing data. The tutorial is very comprehensive, and the documentation itself calls it the best way to learn Solr. Many problems I encountered in practice were solved with its guidance.
- Installation
First approach: download the official package and extract it.
Second approach: install with Homebrew on macOS.
brew install solrThe default Homebrew installation directory is:
/usr/local/Cellar/solr/- Startup
Enter the bin directory of the Solr installation:
cd /usr/local/Cellar/solr/8.5.0/bin/Start Solr:
brew services start solrOr:
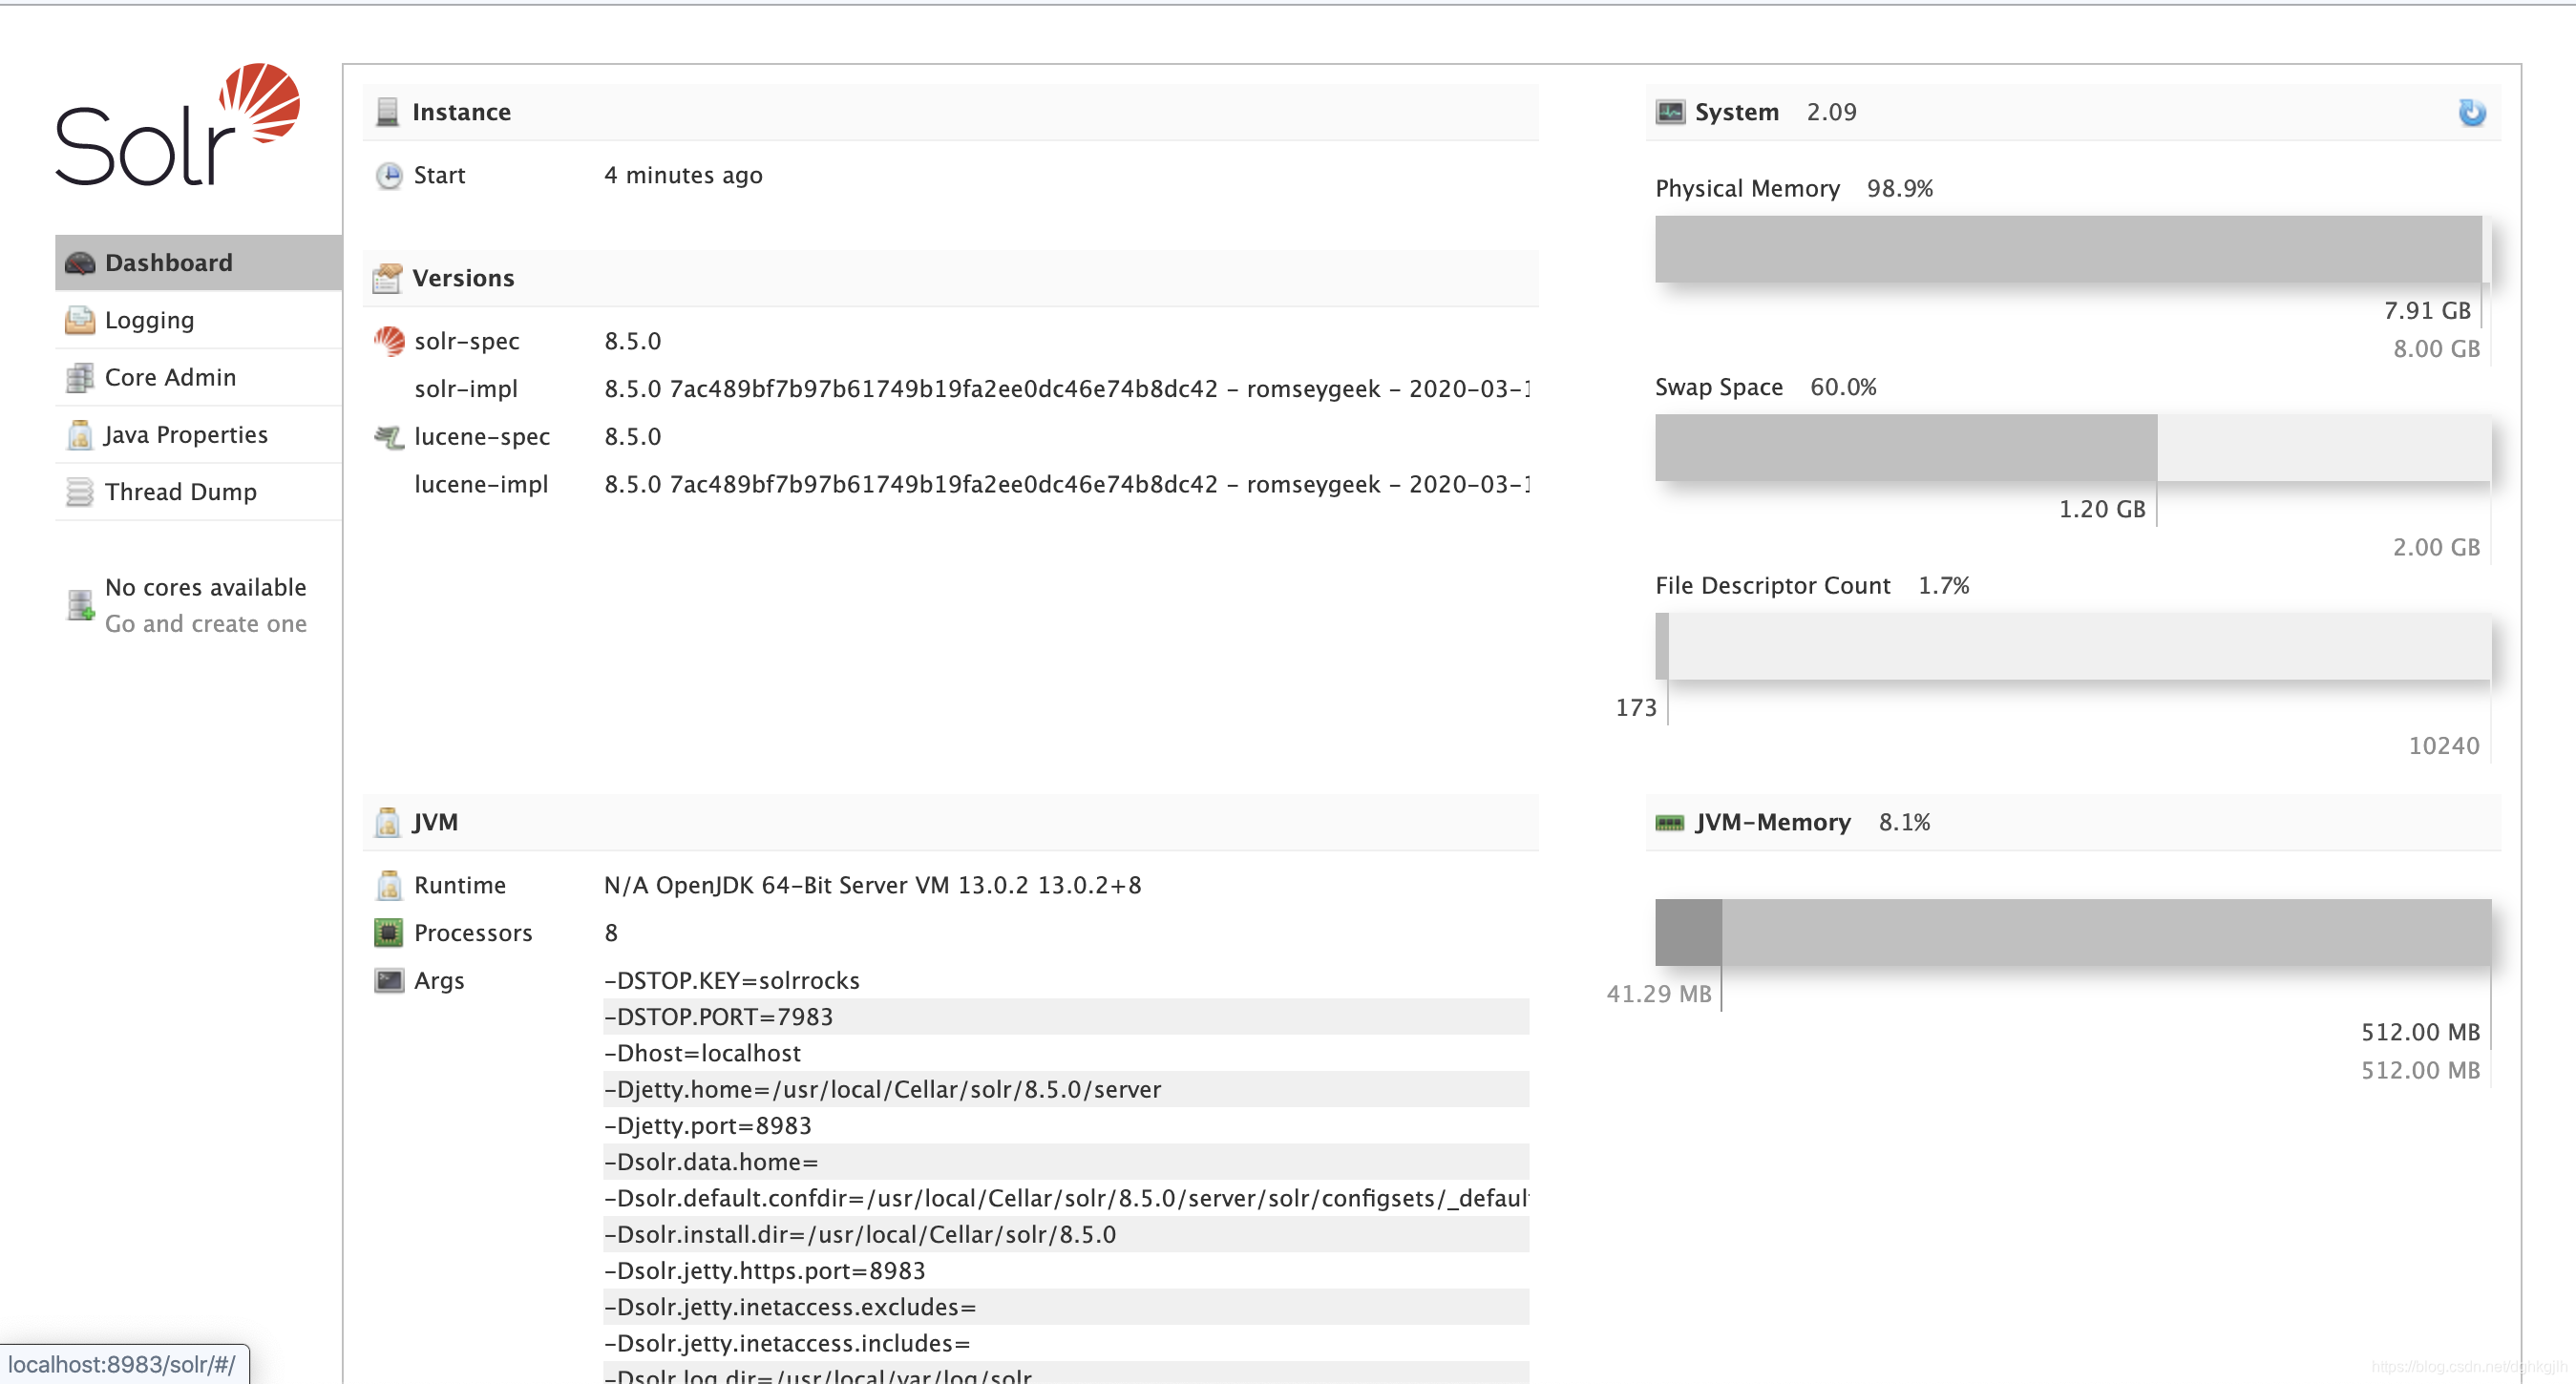
./solr start -h localhost -p 8983The message happy searching indicates successful startup. Visit localhost:8983; the page below confirms success.
- Create a Custom Core
The distribution provides examples that do not require you to create a core. In real applications, however, we need our own custom core.
Still in the Solr bin directory, create myCore. The -c argument specifies the core to create:
./solr create_core -c myCoreAfter successful creation, refresh the console to see the additional core.
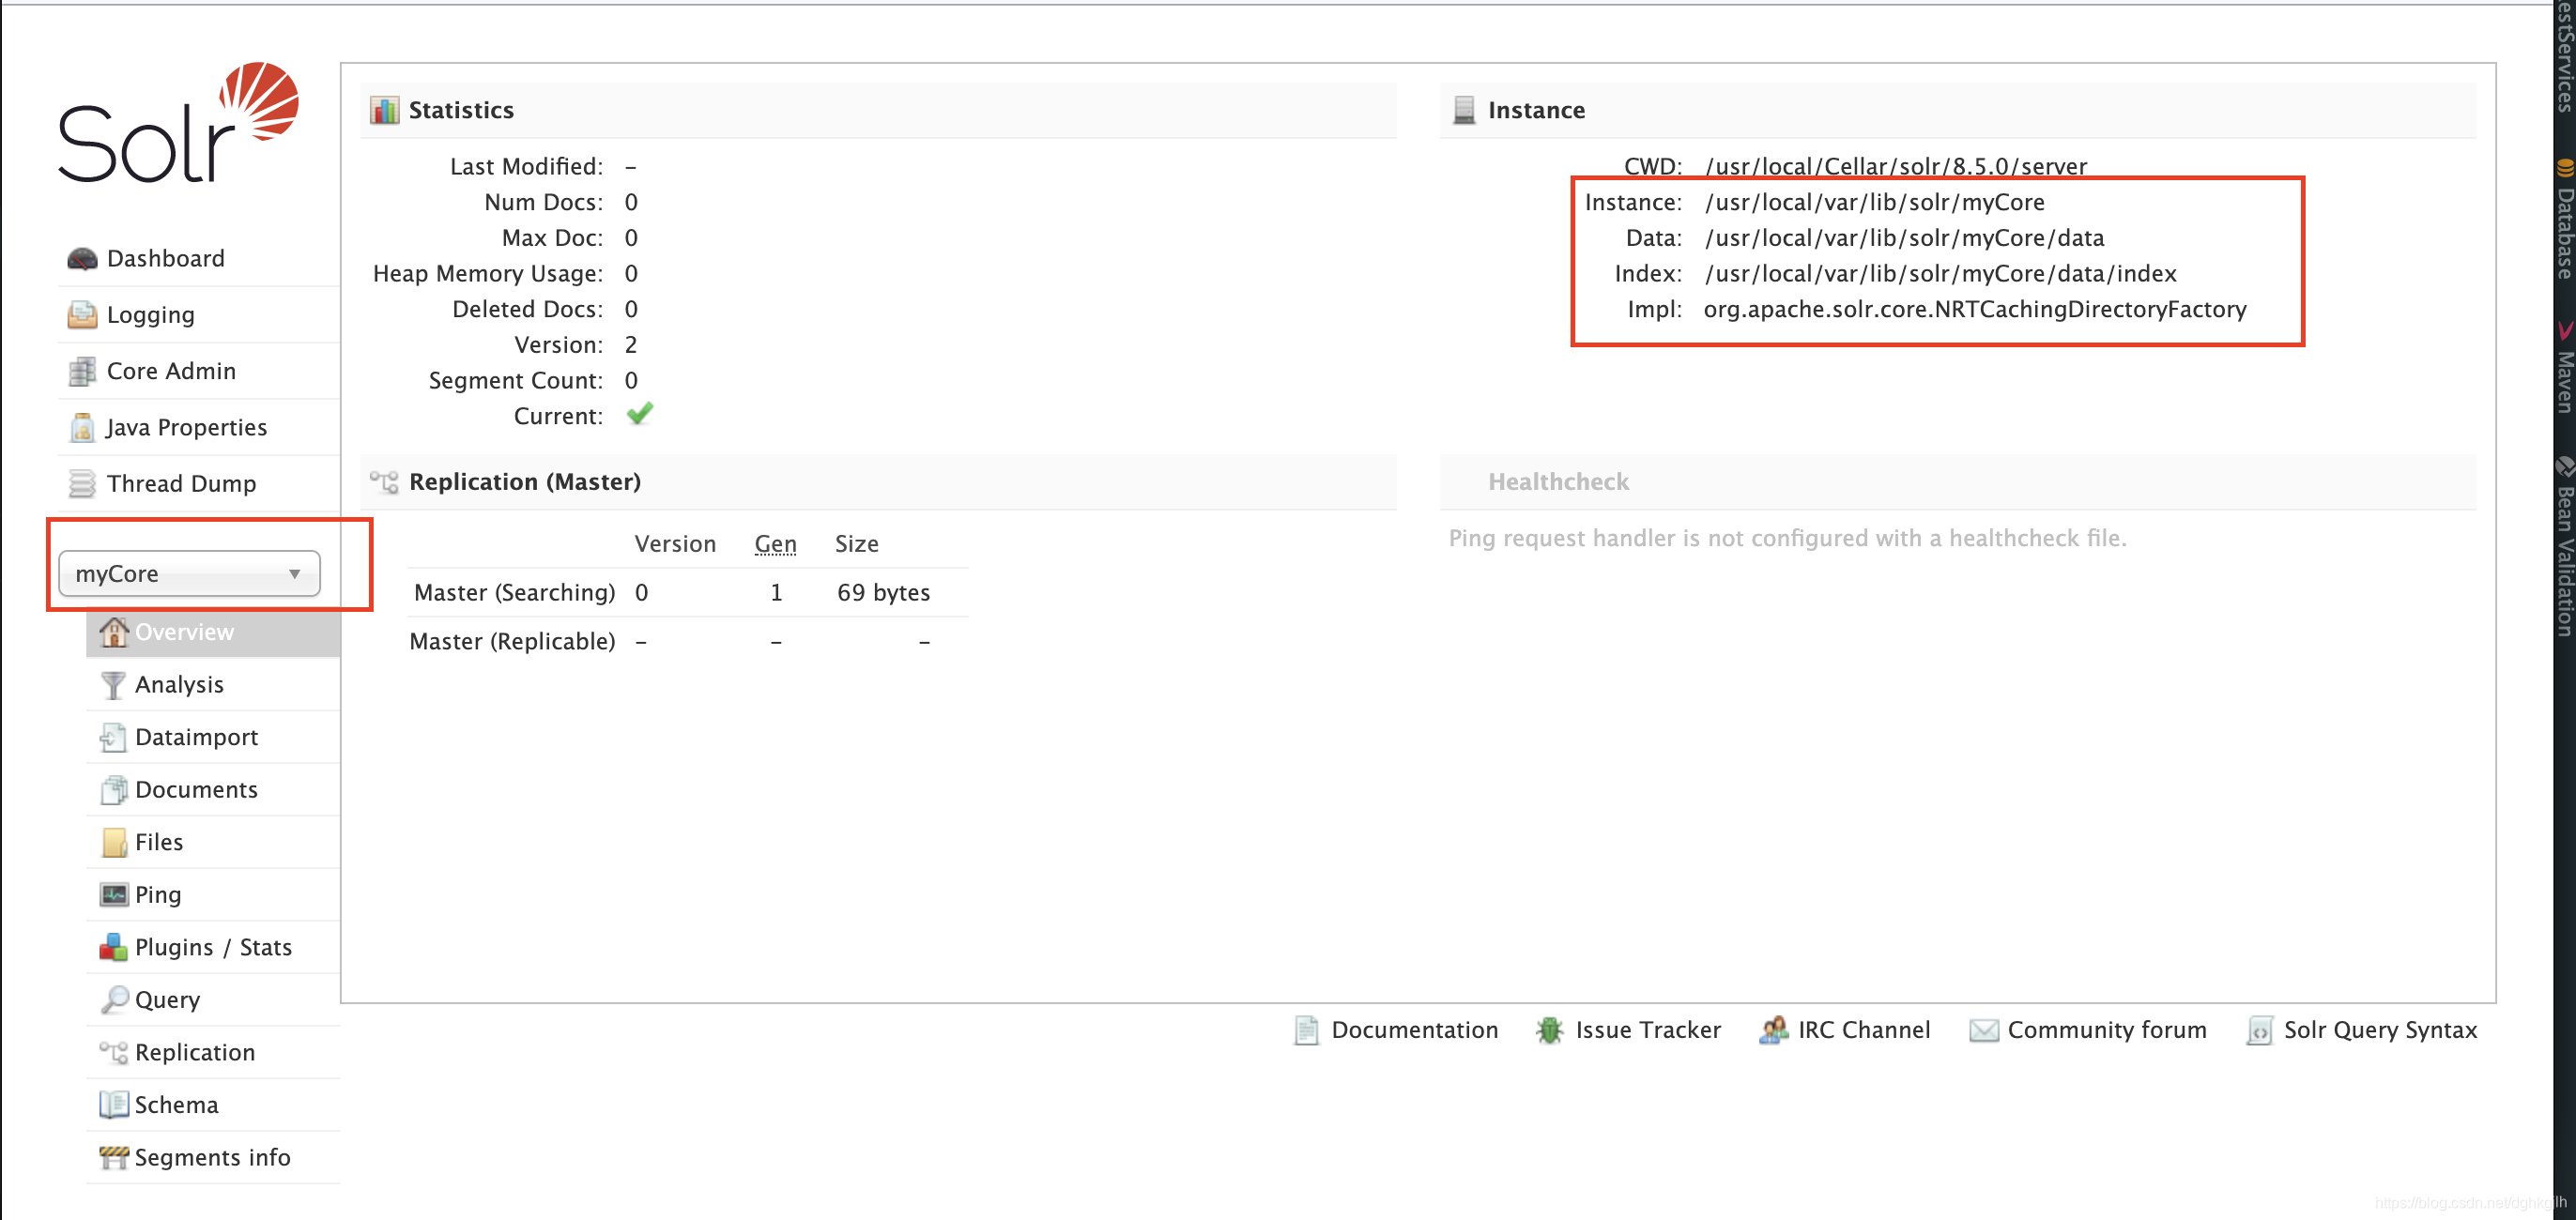
The default storage location is shown. The myCore directory contains conf, data, and core.properties. Two important files in conf are solrconfig.xml and managed-schema.
- Configure the corresponding entity fields in manager-scheme:
    <field name="name" type="string" indexed="true" stored="true"/>
<field name="age" type="plong" indexed="true" stored="true"/>-
Alternatively, use console -> myCore -> scheme -> add Field.
-
You can also add fields using curl.
Tip: for field definitions and types, see the field definition section.
-
Insert Data into Solr
-
In the console, choose Documents -> enter the data as JSON in the Documents box -> click submit.
-
Insert two documents using curl. Be sure to add commit=true, or Solr will not commit them.
curl -X POST -H 'Content-Type: application/json' 'http://localhost:8983/solr/customData/update?commit=true' --data-binary '[{"userId":"234232231","name":"dijaa","age":189},{"userId":"378777","name":"oop","age":78}]'For more examples of inserting JSON through curl, see the Uploading Data documentation.
-
Queries
-
Click Query in the console to retrieve the data you just inserted.
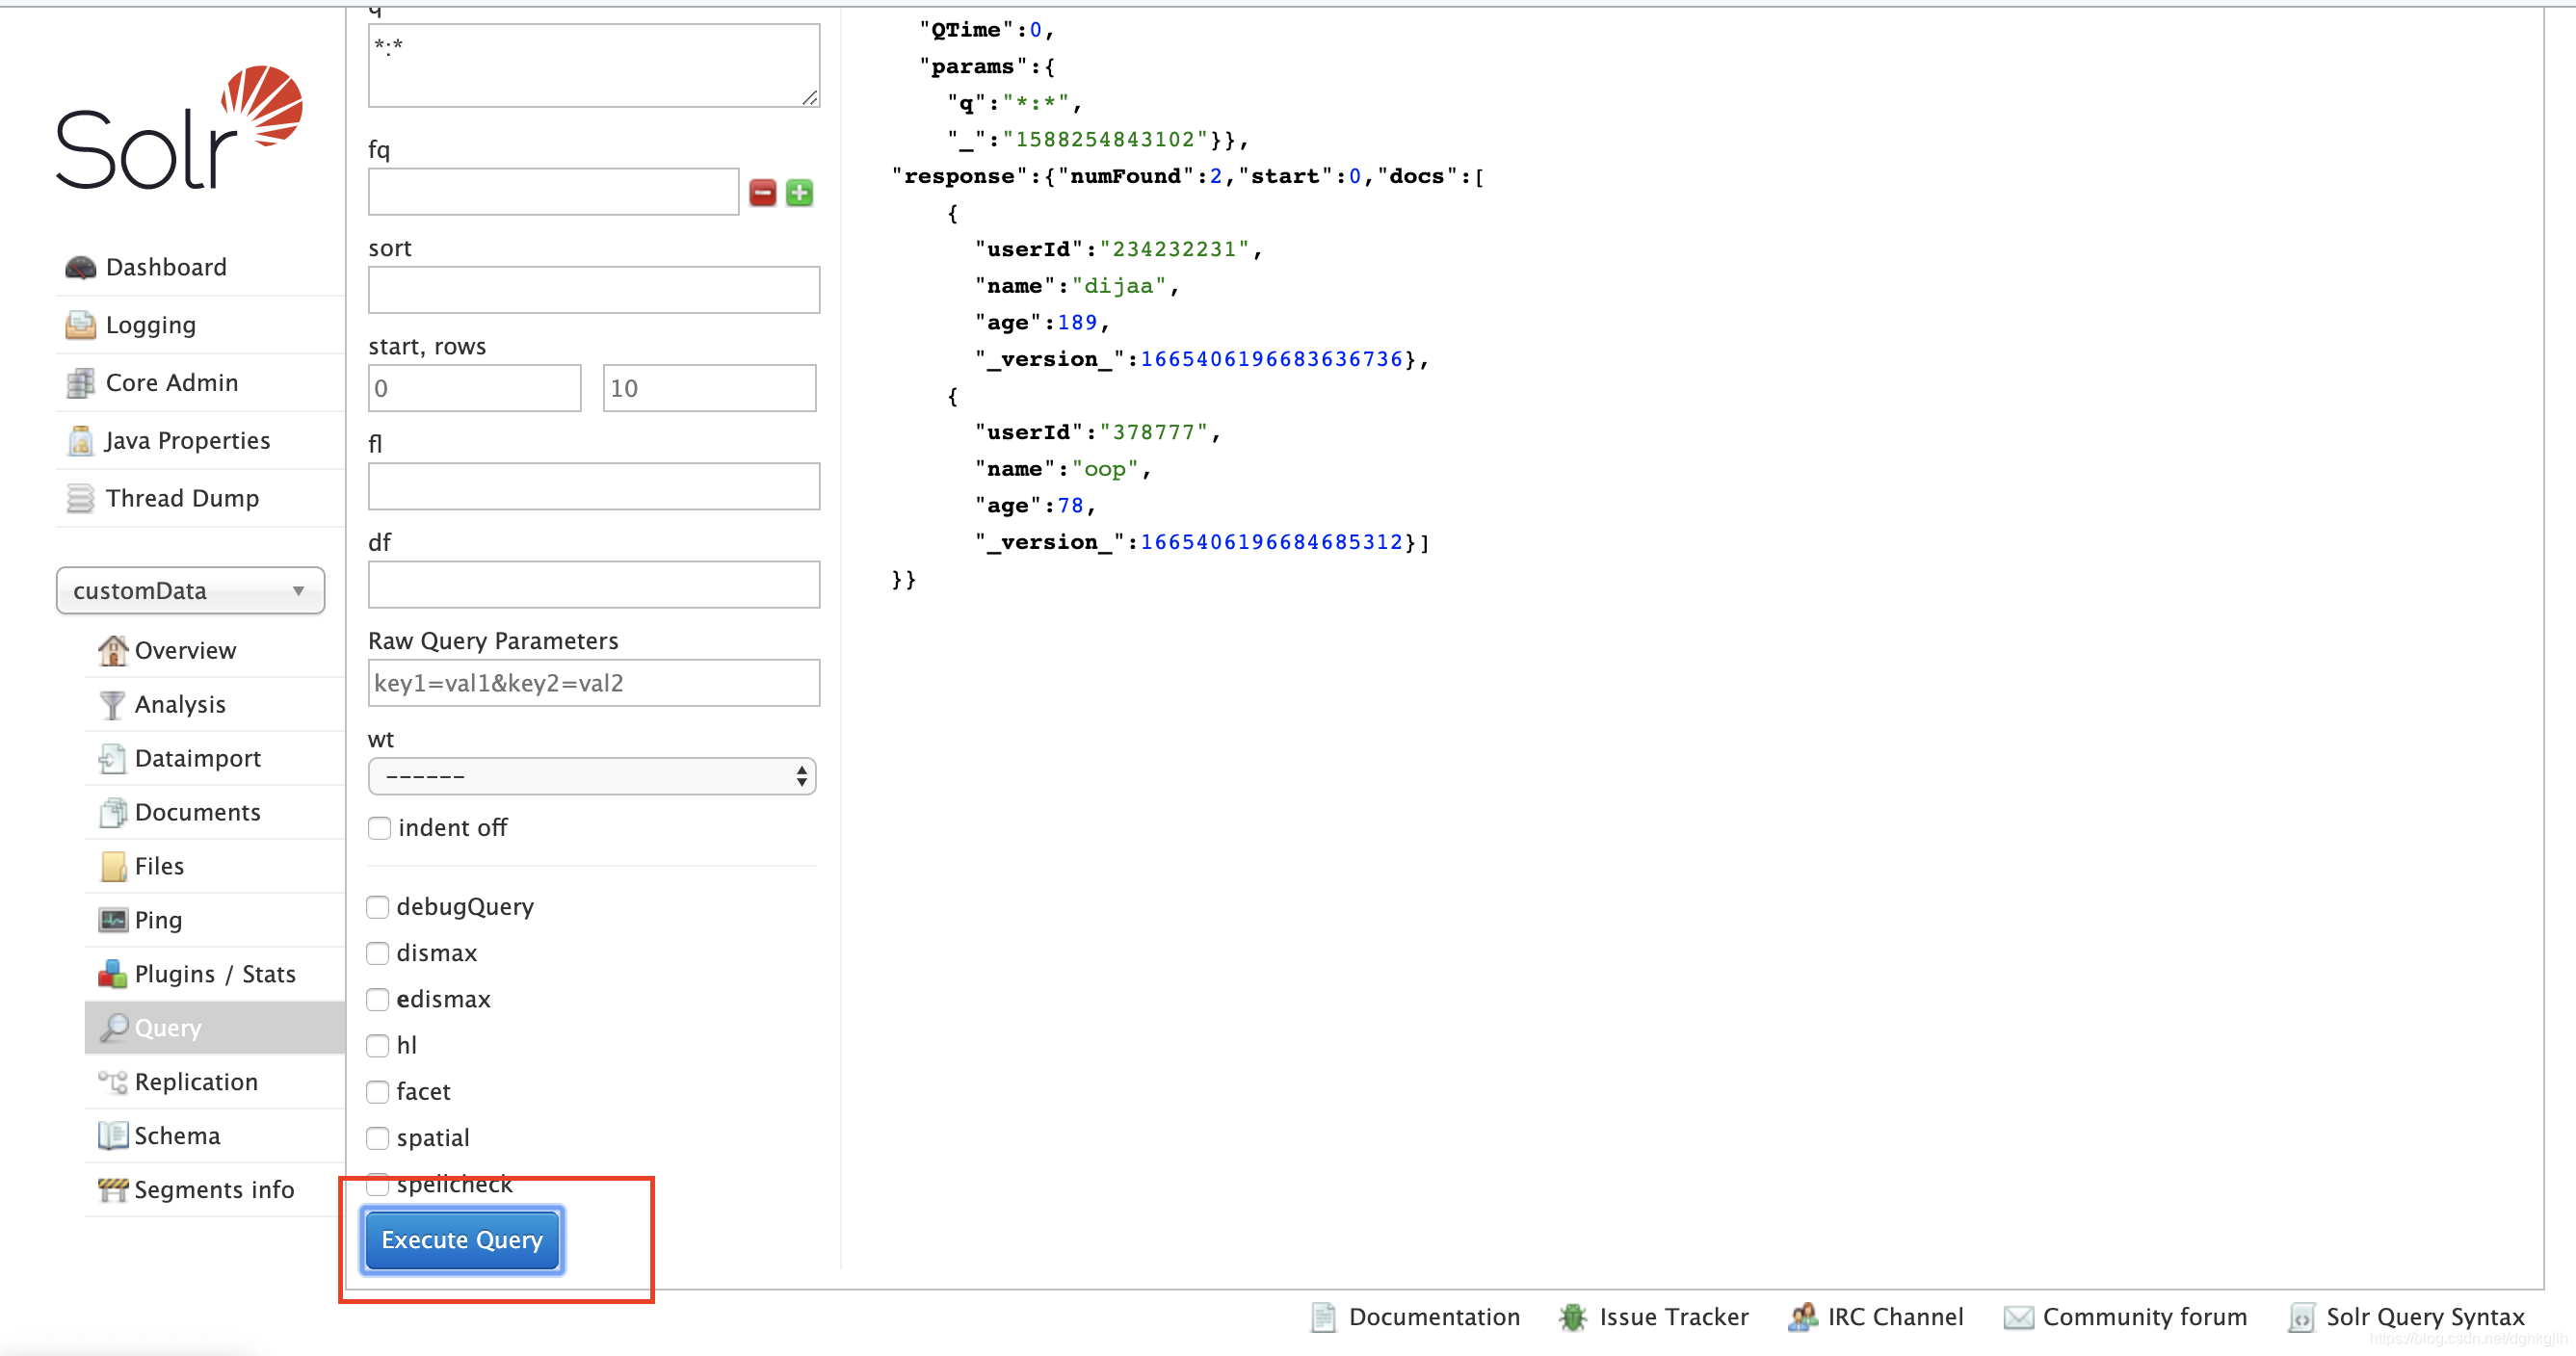
- Use curl; customData here is another custom core.
curl "http://localhost:8983/solr/customData/select?q=*:*"For more console and command-line queries, see the searching section.
Note: Solr has a default unique key, id, of type string. Its default value is a generated sequence, such as “783723823hhh-2323b23-9”. Real applications generally use distributed IDs, usually of type Long, and not every entity’s unique key is named id. Change uniqueKey in managed-schema and add a new field. However, Solr recommends storing unique keys as strings, so you can convert the application’s Long primary key to a string for storage.
-
Delete Data
-
Delete through the console.
Documents -> update -> choose XML -> run the following to delete all data:
<delete><query>*:*</query></delete>
<commit/>
To delete only specific data, put the query condition between the
<delete><query>userId:38237239392</query></delete>
<commit/>- Delete with curl. Again, include commit=true. In {“delete”:“the unique key in Solr”}, the value is the unique key. For more JSON operations, see updating, inserting, and deleting JSON with curl.
curl -X -POST -H 'Content-Type: application/json' 'http://localhost:8983/solr/customData/update?commit=true' --data-binary '{"delete":"234232231"}'- Delete a Core: the argument after -c is the core name.
solr delete -c myCore- Stop and Restart Solr
solr stopsolr restartTip:
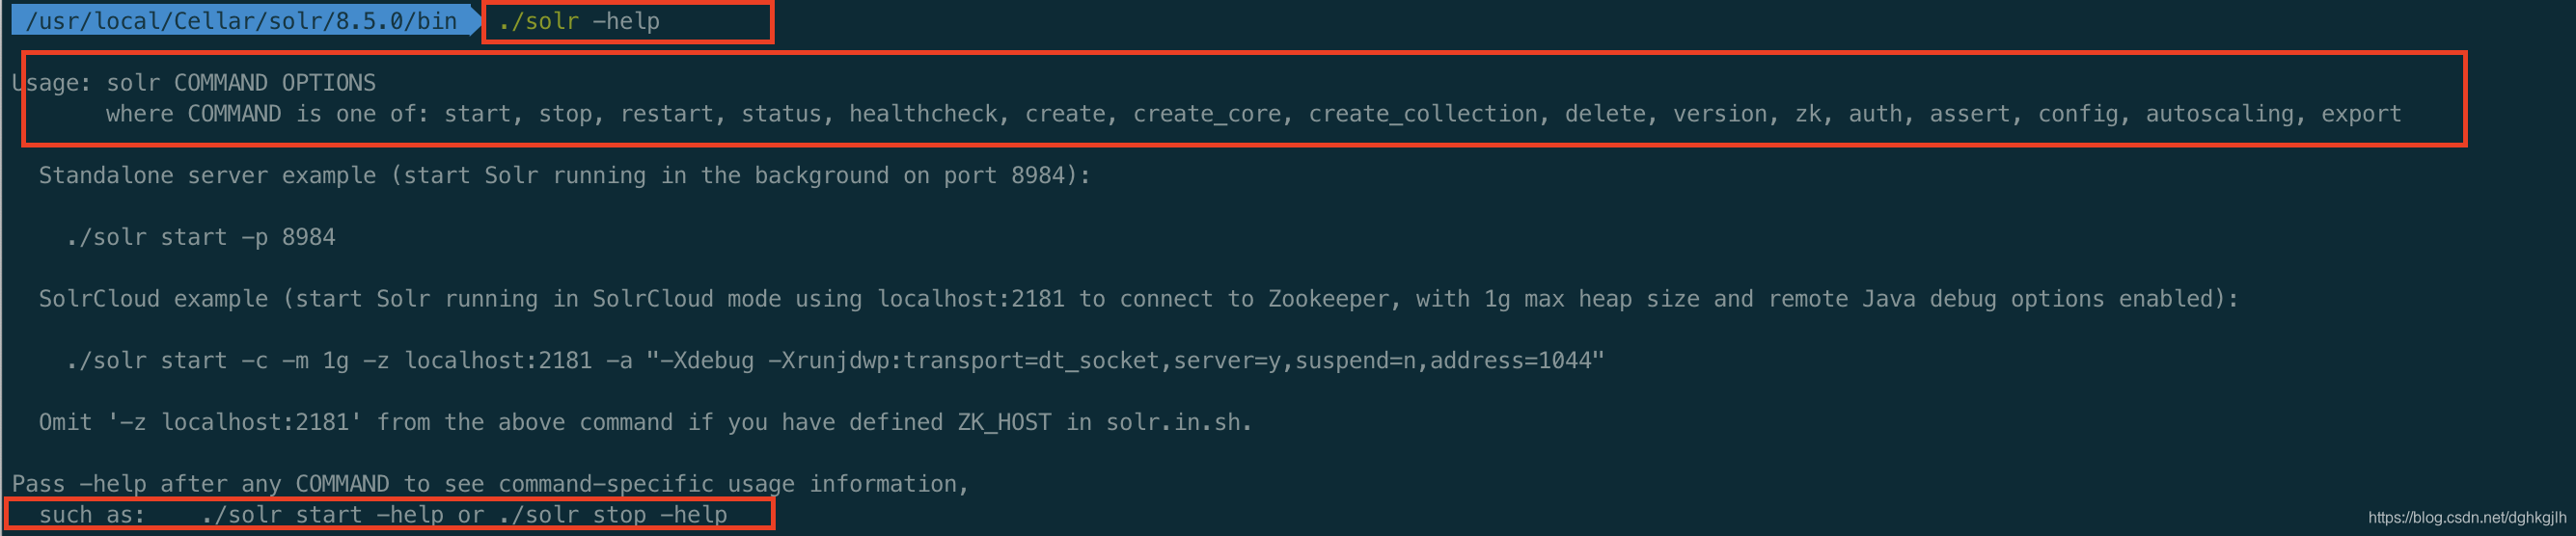
If you are unsure which Solr commands exist or how to use one, enter the bin directory of the Solr installation.
For command help, use (./solr command -help), where command is the specific command. Omit it to see all supported commands.
For example:
- Possible Problems
Error Processing the request.CoreContainer is either not initialize
During development, we usually create a core by copying and modifying configuration from an existing Solr core. Typically we change
name=your_core_name
If you copy existing files and forget to change this to your new core’s name, startup reports this error.
Next: Using Solr (Part 2): Importing MySQL Data, Full Updates, and Incremental Updates