Table of contents
Open Table of contents
Using ShardingSphere Database Middleware: ShardingProxy (Part 1), Data Sharding and Read/Write Splitting
Background
Using ShardingSphere Database Middleware: ShardingJDBC (Part 1), Data Sharding introduced two database middleware proxy approaches: a client-side proxy, which proxies the data source, and a server-side proxy, which proxies database instances.
ShardingJDBC is a data source proxy, currently available only for Java. In practice, a large system is unlikely to use just one language. Java, C, C++, PHP, Python, and others may all access the database. If those databases are sharded, how can developers using other languages also work without worrying about the underlying database and table sharding logic? This is where ShardingProxy comes in.
ShardingProxy is a logical database instance that manages N physical instances behind it.
Download and Configuration
Go to the ShardingSphere website to download the desired ShardingProxy version as a tar.gz file.
-
Extract the archive
tar -xvf apache-shardingsphere-4.1.1-sharding-proxy-bin.tar.gz -
Modify the config- configuration: enter the conf directory and select conf-sharding.yaml.
-
Configure data sharding
schemaName: sharding_db dataSources: # Primary 1 ds0: url: jdbc:mysql://localhost:3306/dhb?serverTimezone=UTC password: 12345 username: root # Replica 1 of primary 1 ds0-slave0: url: jdbc:mysql://localhost:3307/dhb?serverTimezone=UTC password: 12345 username: root # Replica 2 of primary 1 ds0-slave1: url: jdbc:mysql://localhost:3308/dhb?serverTimezone=UTC password: 12345 username: root # Primary 2 ds1: url: jdbc:mysql://localhost:3310/dhb?serverTimezone=UTC password: 12345 username: root # Data-sharding configuration shardingRule: # Default database-sharding strategy defaultDatabaseStrategy: inline: shardingColumn: id algorithmExpression: ds$->{id % 2} # Default table-sharding strategy defaultTableStrategy: inline: shardingColumn: age algorithmExpression: user_$->{age % 2} # Data nodes tables: user: actualDataNodes: ds$->{0..1}.user_$->{0..1} # Default database defaultDataSourceName: ds0 -
Configure read/write splitting
Note: every config- file in ShardingProxy represents a data source. Here, we use only one data source and configure both data sharding and read/write splitting in it. The distribution includes four config- files by default; use them as needed.
Also note: within a configuration file, masterSlaveRules must be nested under shardingRule.
# Read/write splitting configuration---start
masterSlaveRules:
  ds0:
     masterDataSourceName: ds0
     slaveDataSourceNames:
      - ds0-slave0
      - ds0-slave1
     #Replica load-balancing algorithm type; options: ROUND_ROBIN and RANDOM.
     #Ignore this option if `load-balance-algorithm-class-name` is present
     loadBalanceAlgorithmType: ROUND_ROBIN
     #Replica load-balancing algorithm class. It must implement MasterSlaveLoadBalanceAlgorithm and provide a no-argument constructor
     #load-balance-algorithm-class-name=
# Read/write splitting configuration---end
-
-
Modify the server configuration file. authentication sets users and passwords for the logical database instance; multiple users can be configured. Enable SQL logging to verify the configuration later.
authentication: users: root: password: 123456 sharding: password: 123456 authorizedSchemas: sharding_db props: sql.show: true -
Enter the bin directory and start the proxy on port 13306.
start.sh 13306 -
Check the log directory for errors.
-
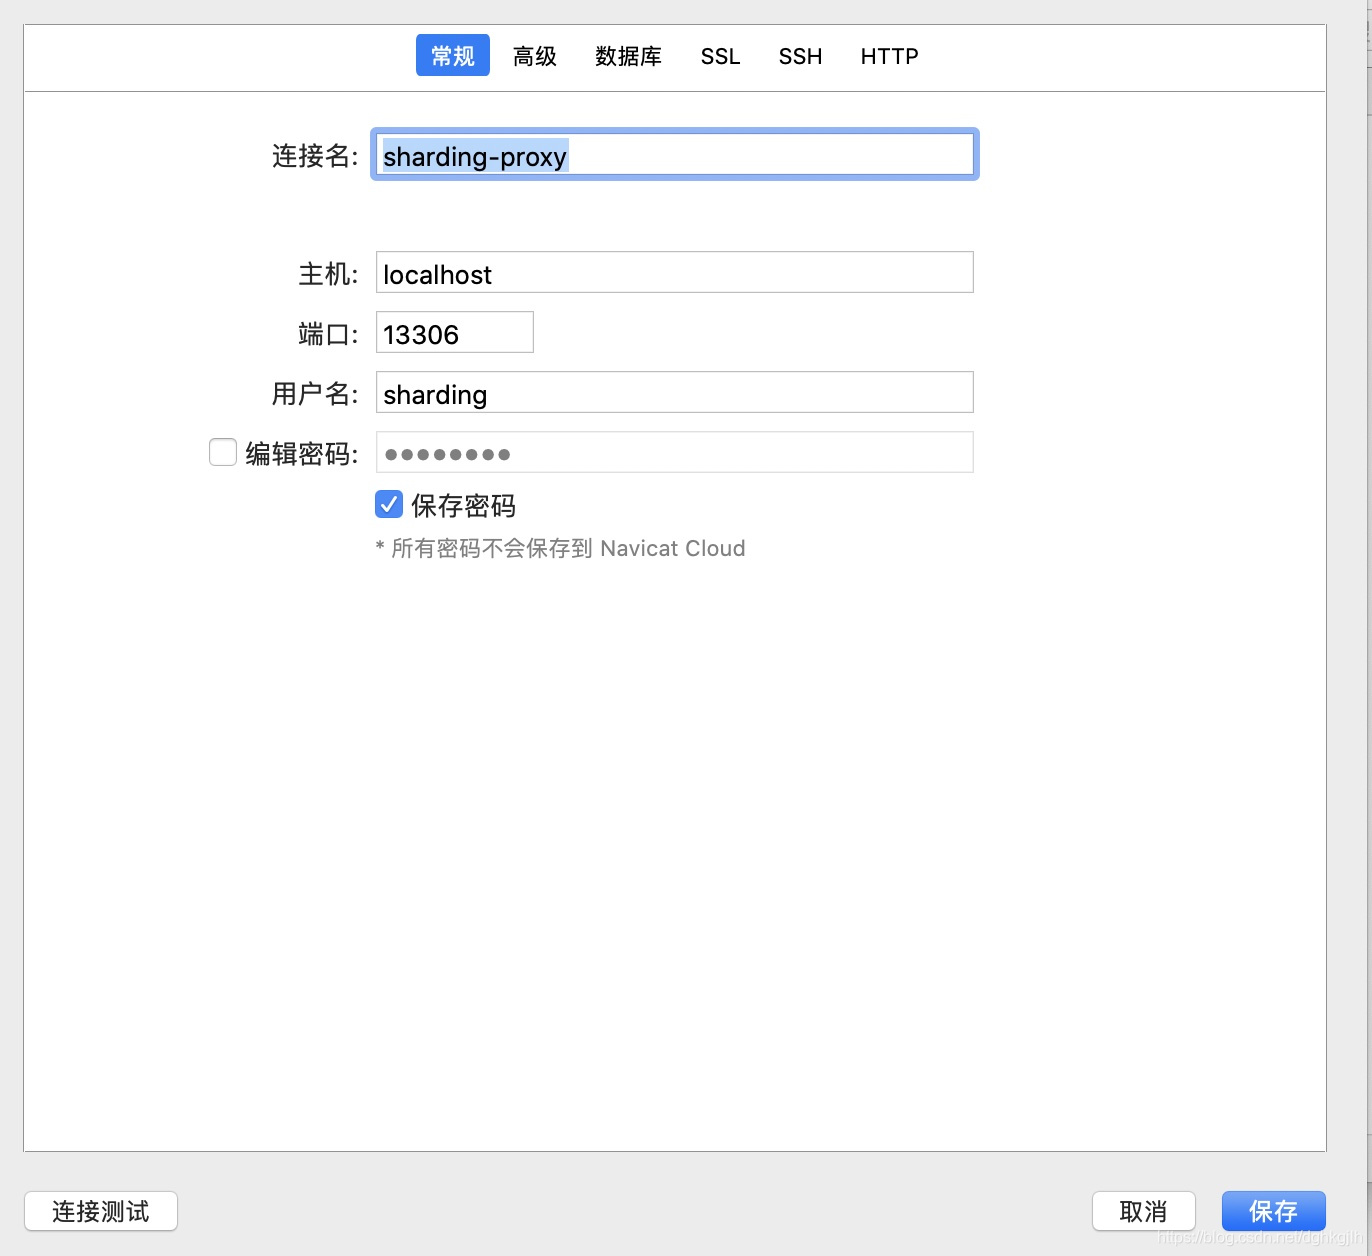
Create a Navicat connection to port 13306. ShardingProxy now manages four physical MySQL instances: primary 1 on 3306, primary 2 on 3310, replica 1 of primary 1 on 3307, and replica 2 of primary 1 on 3308.
 After connecting, inspect the databases and tables.
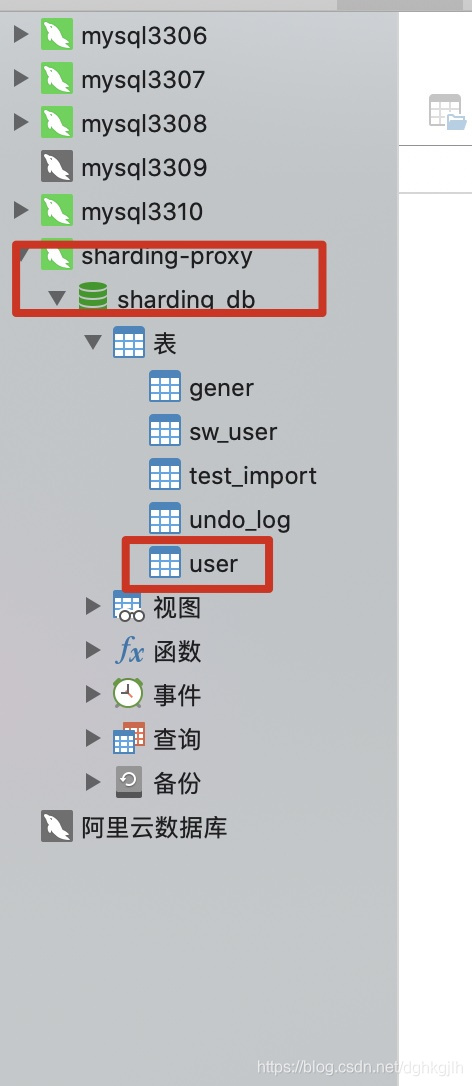 All user_N tables are presented as one user table.
Using It in Code
After this configuration, application code connects to the logical MySQL instance—the proxy on port 13306—instead of directly to physical MySQL instances.
Configure the application data source to connect to the logical database instance:
spring:
  application:
    name: mybatis-demo
  datasource:
    url: jdbc:mysql://localhost:13306/sharding_db?serverTimezone=UTC
    username: sharding
    password: 123456
driver-class-name: com.mysql.cj.jdbc.Driver-
Verify the ShardingProxy configuration
-
Query data. With read/write splitting configured, queries should alternate between 3307 and 3308.
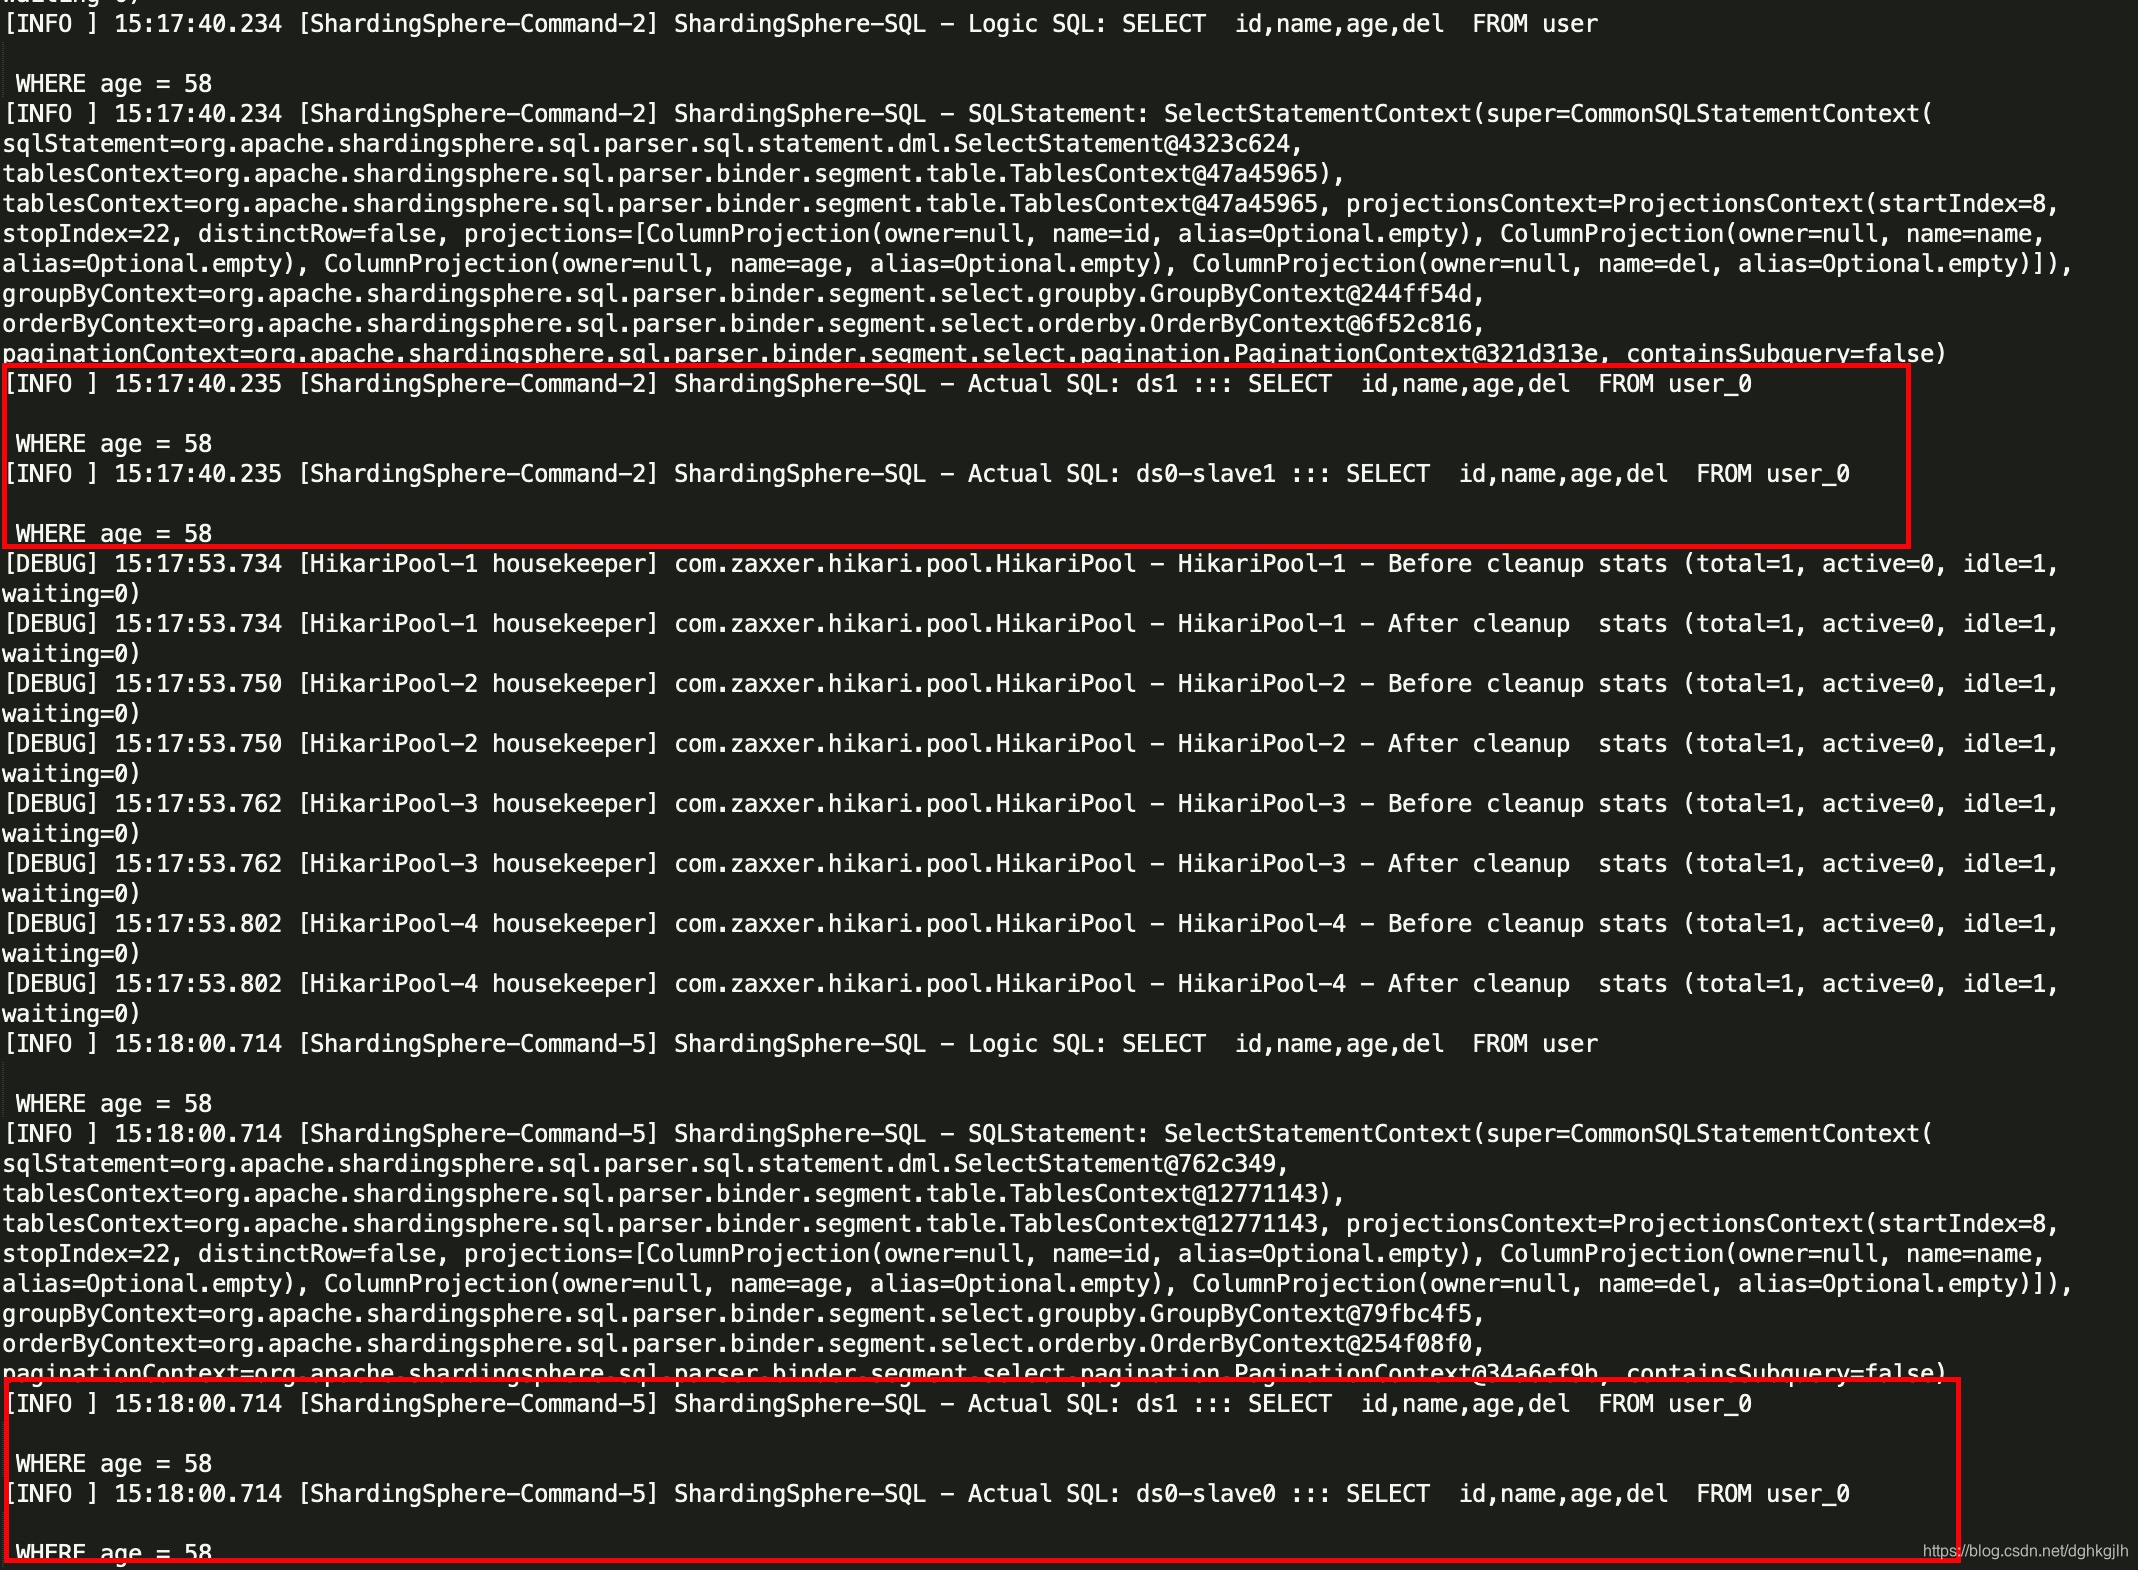 The logs confirm that queries alternate between the two replicas.
 -
Insert data
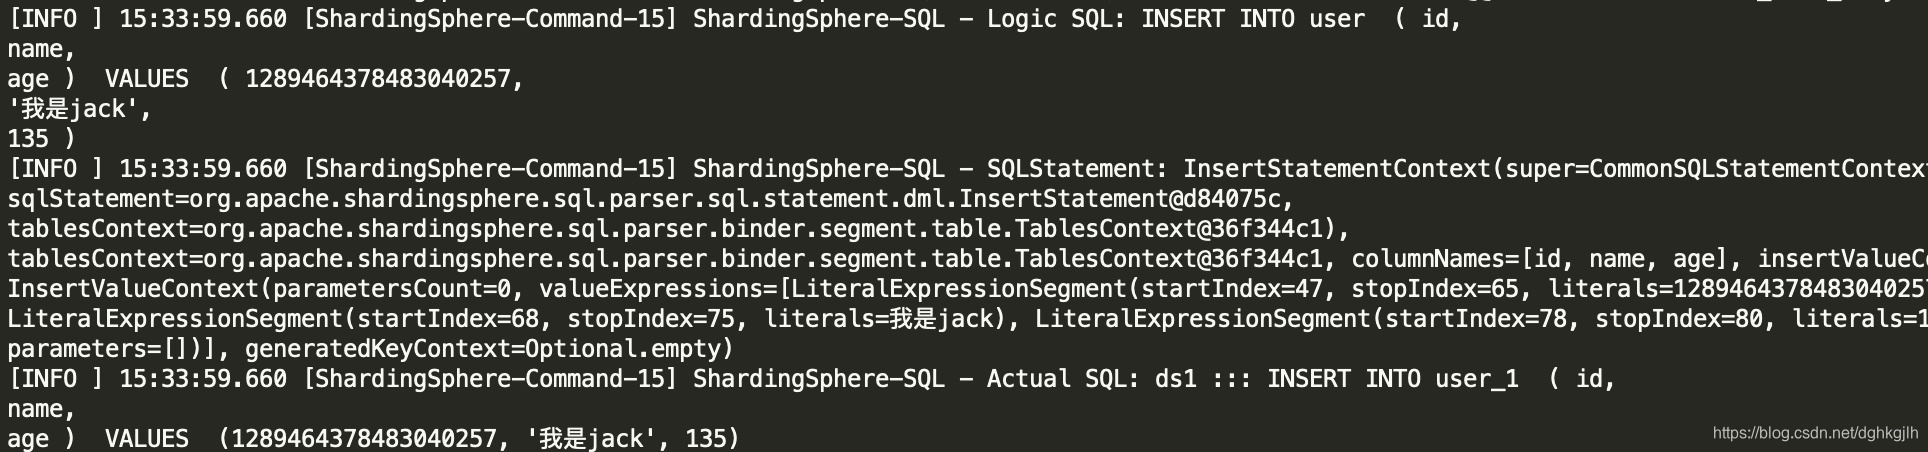
-
- Use id modulo 2 to select primary 2, then use age modulo the database count to select user_1.
-
-
Important Points
-
If the application uses mysql-connector for MySQL 8.0, also add the mysql-connector 8.0 JAR to ShardingProxy’s lib directory.
-
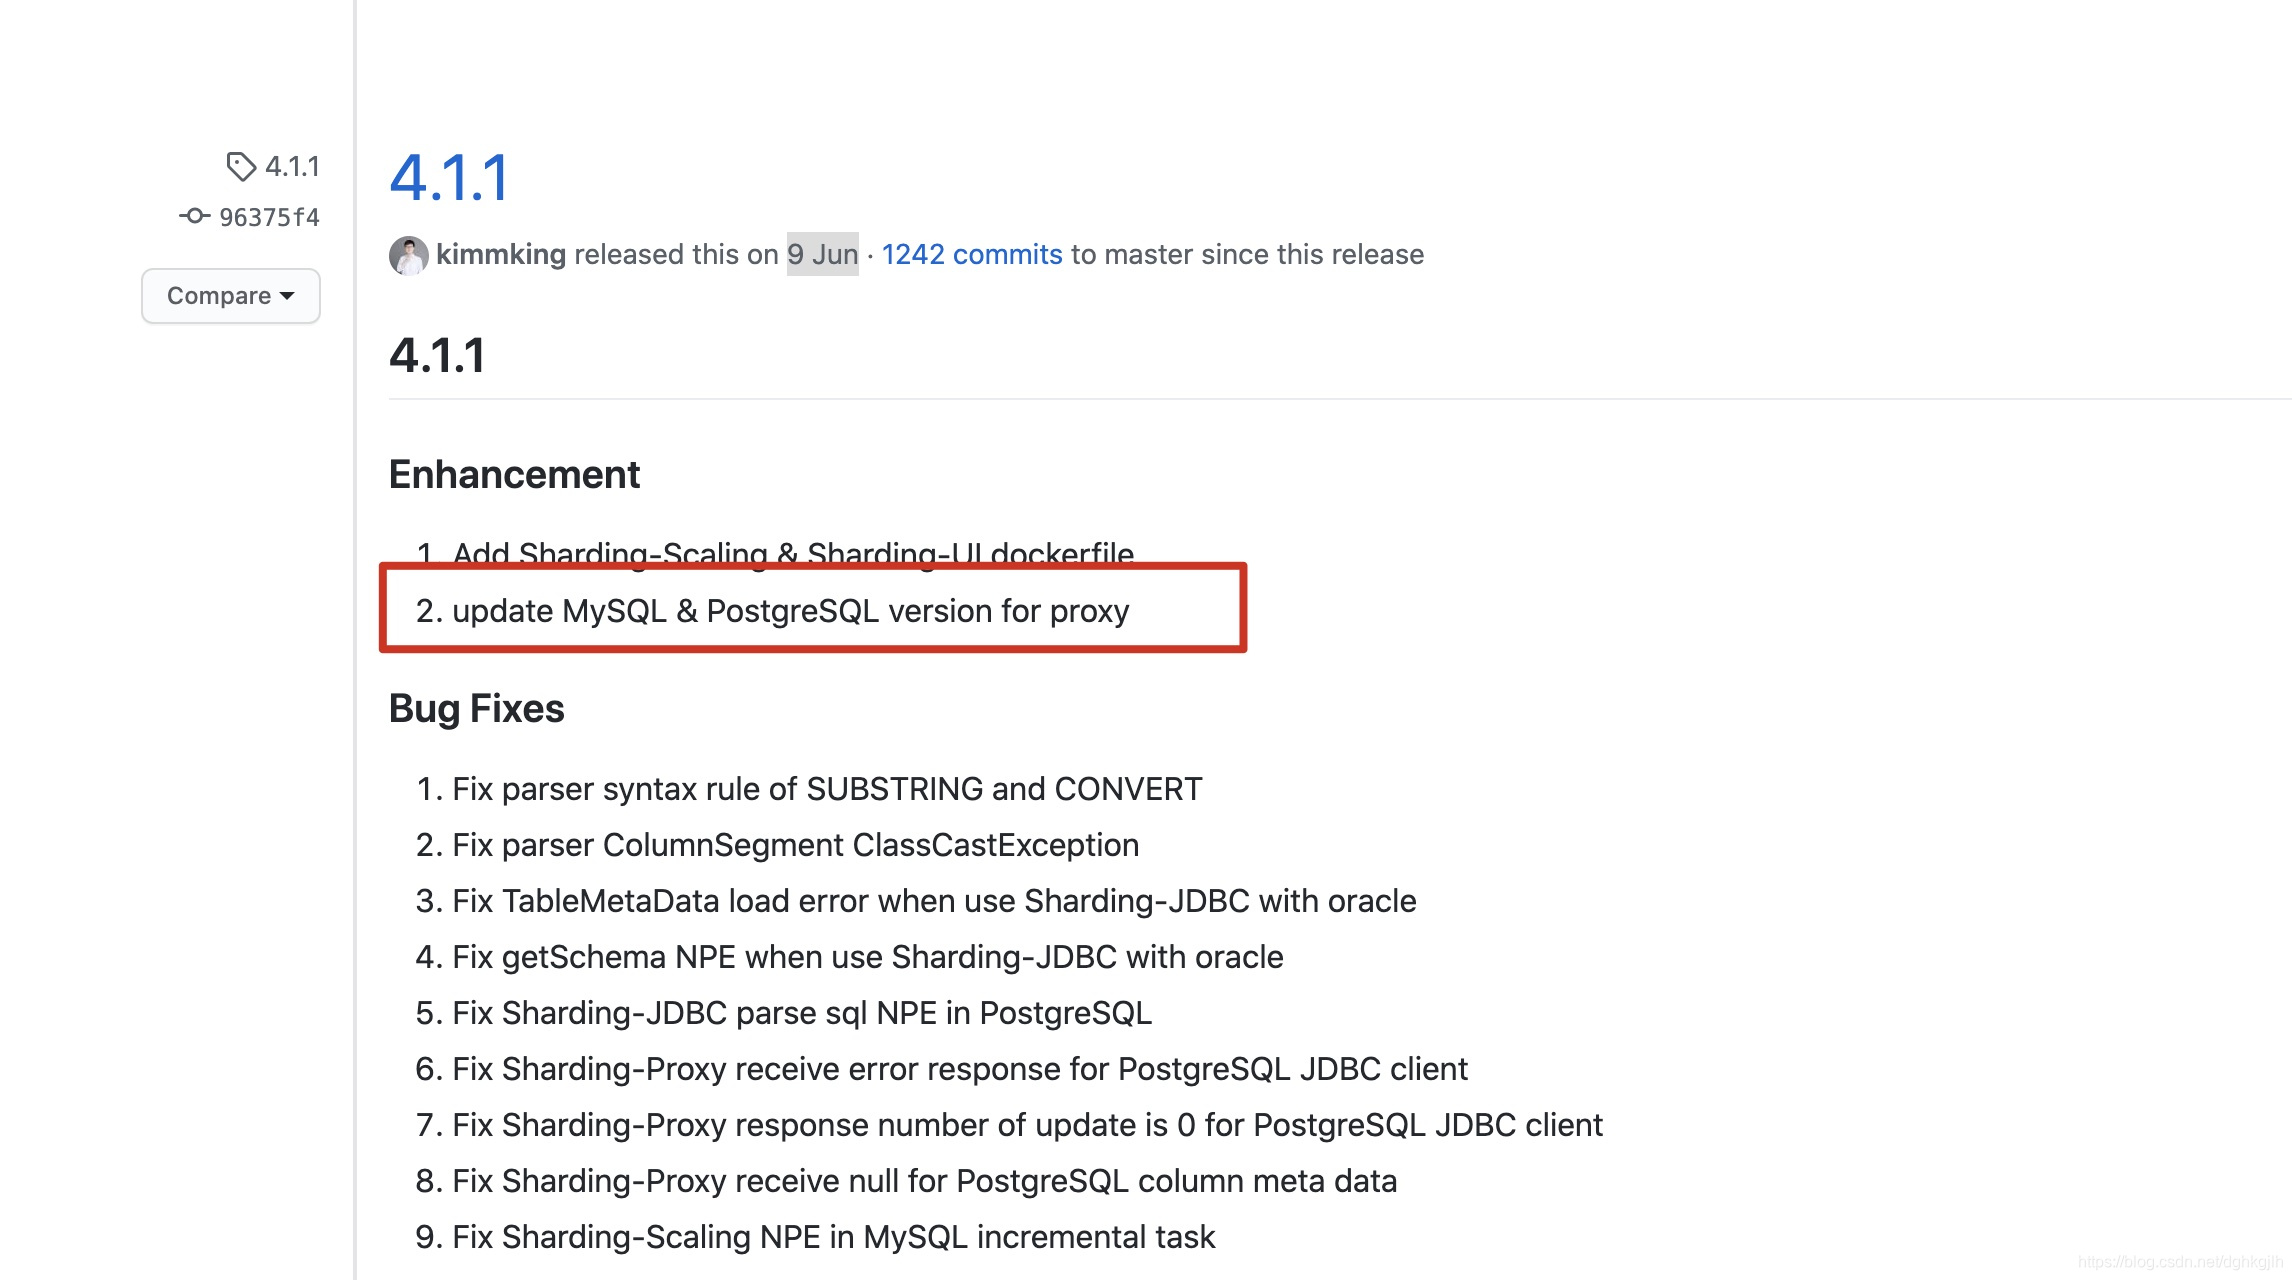
If problems remain after adding that JAR, check the proxy version. Version 4.0.0 will not work; the community has fixed this bug in 4.1.1, so upgrade to 4.1.1. Download,Related issue,Related PR.
The release screenshot is shown below.
Summary
- ShardingProxy supports multiple languages, and the application only needs to configure one logical database instance.
- It also reduces DBA workload: there is no need to calculate locations from sharding rules before querying data.
- You are welcome to contribute to the ShardingSphere community and grow along with it.